

19 Food Storage Containers Ideas to Keep Your Pantry and Fridge Organized
Open a kitchen cabinet and watch containers avalanche out, and you know the problem: mismatched tubs, missing lids, and mystery leftovers. The right food storage containers change everything — food stays fresher, shelves look calm, and you stop buying duplicates. From glass pantry jars to freezer-ready meal prep boxes, these ideas cover every corner of your kitchen, so you can pick the system that fits how you actually cook and eat.
Pantry Dry Goods, Beautifully Contained
The pantry is where containers make the biggest visual difference. Uniform, clear, labeled containers turn a jumble of bags and boxes into a shelf you actually enjoy opening.
1. Glass Containers With Locking Lids
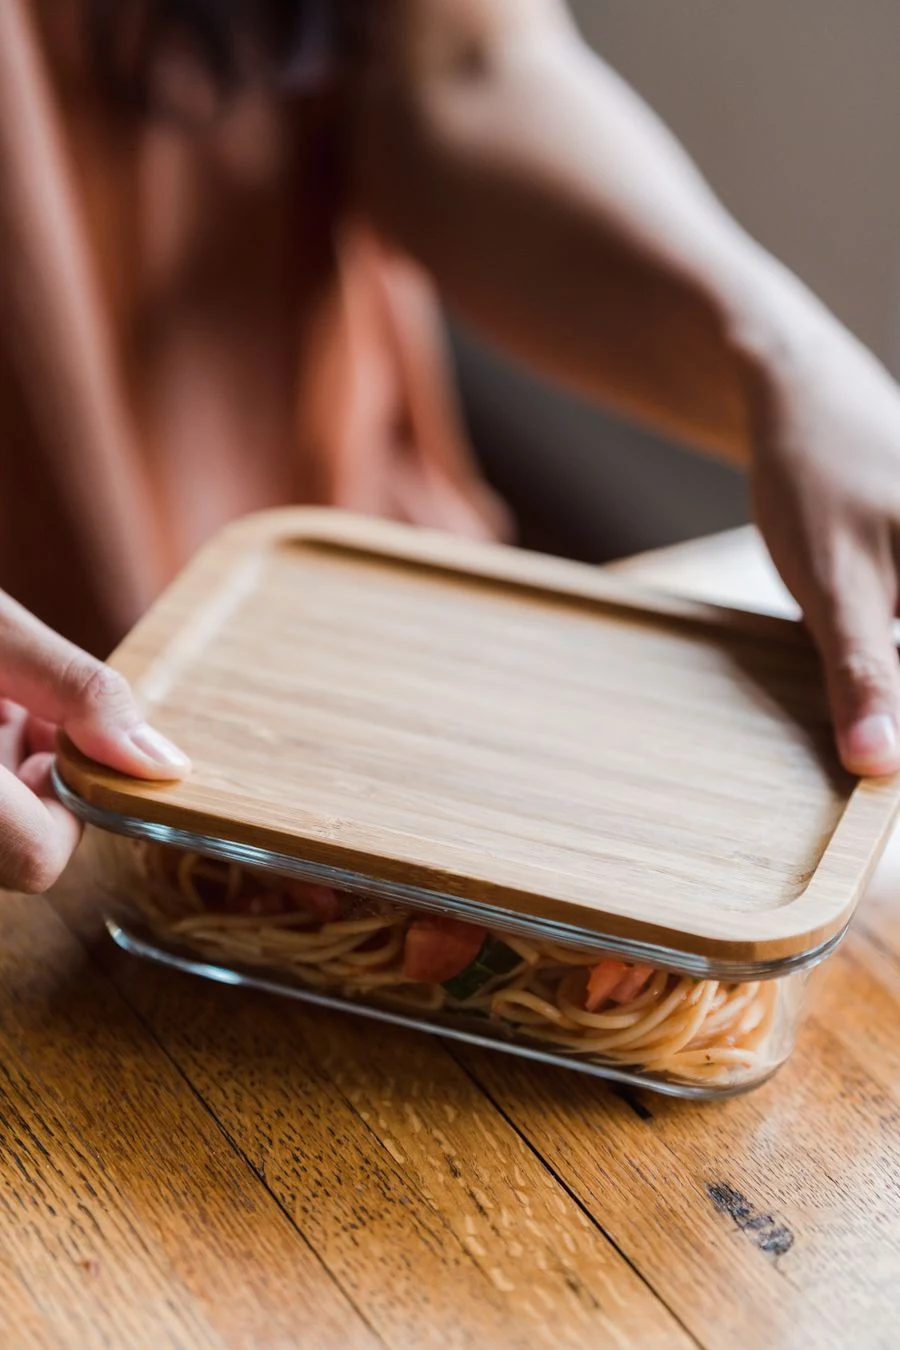
Glass containers with locking lids are the workhorse of any organized kitchen: they do not stain, absorb odors, or warp, and their snap-lock lids seal tightly enough for soups and sauces. Glass also lets you see contents at a glance, so leftovers stop getting forgotten. Tip: buy one matching set in a few sizes rather than mixed singles, so lids and bases always pair up and stack neatly.
Borosilicate glass handles temperature swings better than standard glass, so it moves from fridge to microwave without cracking, though you should still avoid sudden boiling-to-ice-cold shocks. A set with four sizes, from a small 350-milliliter tub to a large 1.5-liter one, covers leftovers, sauces, and salads for most households. Snap-lock lids with silicone gaskets seal tighter than press-on lids, which leak in a bag.
Glass costs more and weighs more than plastic, but it lasts for years without staining or warping, making it cheaper over time. Check that lids are dishwasher safe on the top rack, since high heat warps cheap lids and ruins the seal. Keep a few small glass tubs for sauces and dressings, which stain plastic fastest.
2. Stackable Square Containers
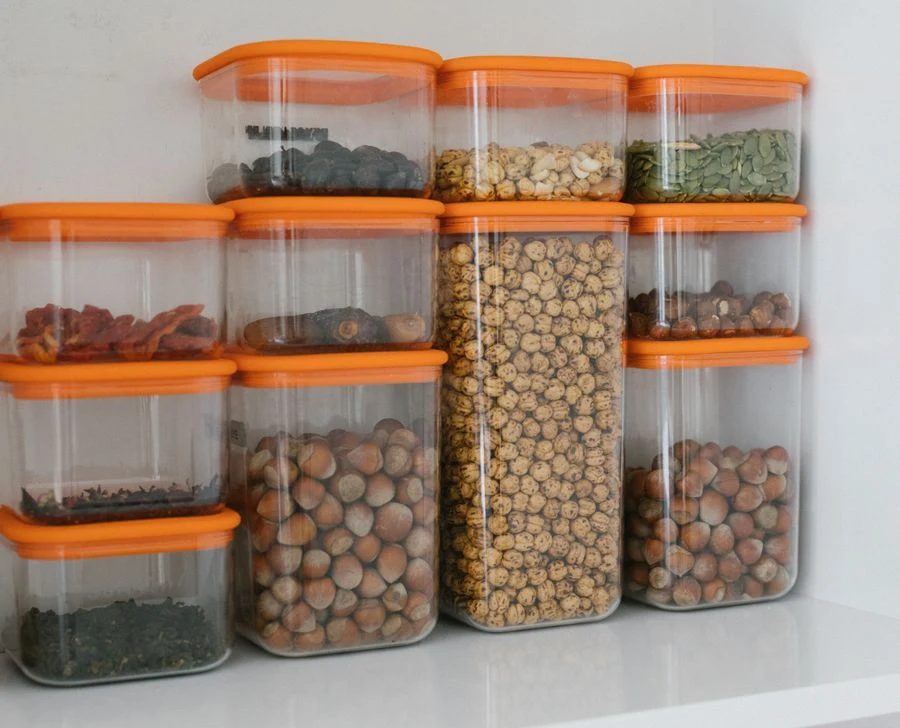
Stackable square containers use shelf and fridge space far better than round ones, because squares leave no wasted gaps. A uniform set stacks into stable towers in the pantry and the fridge, and matching lids mean no more hunting. Tip: choose containers with the same footprint in different heights, so they stack interchangeably and your shelves stay perfectly modular.
Square containers waste almost no space, while round ones leave gaps that add up to a lost shelf row across a full cabinet. A set with one footprint in three heights stacks interchangeably, so you never hunt for a matching lid, and the towers stay stable in the fridge. Clear walls let you see contents without opening lids, which keeps leftovers from being forgotten.
Measure your shelves and fridge door before buying, since a set that is a centimeter too tall for a shelf is useless. Keep lids filed vertically beside the containers, not stacked on top, or the stack topples every time you pull one out. A uniform set also looks calmer on open shelving than a jumble of mixed brands.
3. Bamboo-Lid Glass Jars
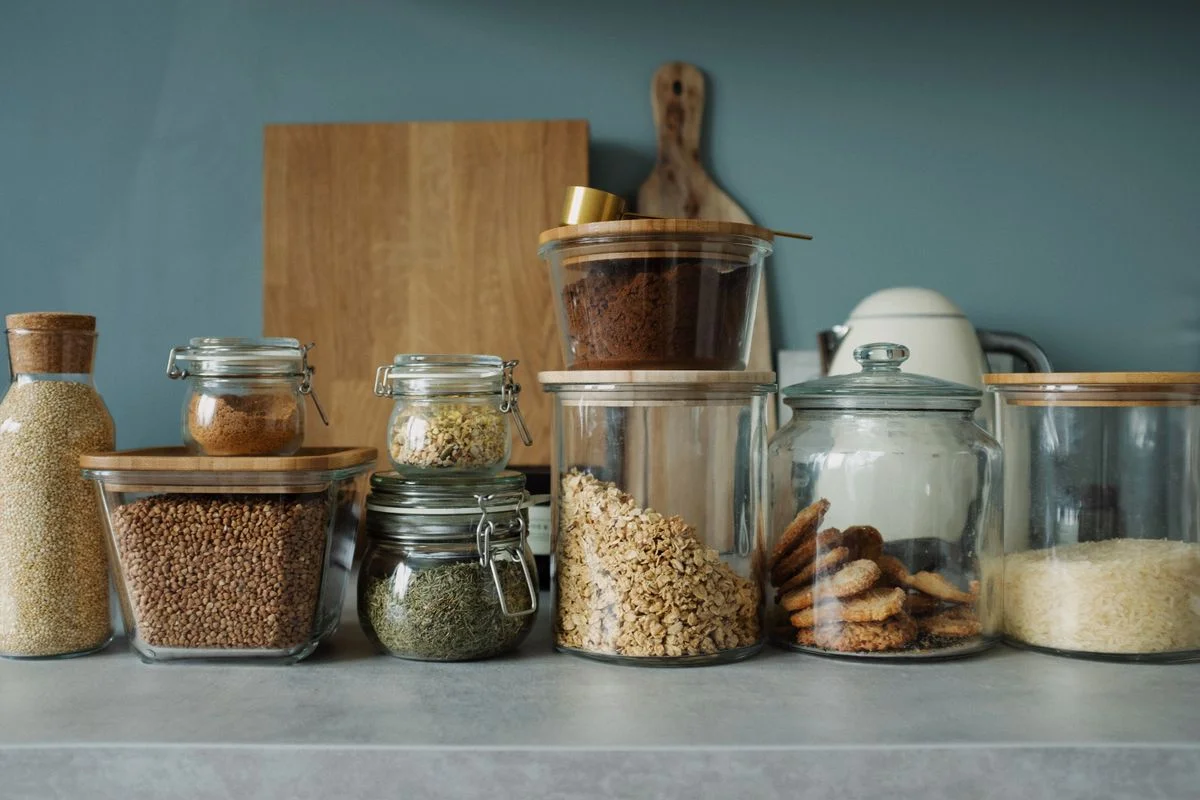
Bamboo-lid glass jars bring a warm, natural look to open shelving while keeping dry goods sealed and visible. The bamboo lid seals well for everyday staples like oats, rice, and coffee, and the glass body shows exactly how much is left. Tip: add a small label to the lid as well as the jar, so you can identify contents from above when jars sit on a high shelf.
Bamboo lids seal well for dry goods like oats, rice, coffee, and flour, but they are not fully airtight for liquids, so keep them to the pantry rather than the fridge. The bamboo adds a warm, natural look that suits open shelving, and the glass body shows exactly how much is left. Jars from 500 milliliters to 1.5 liters cover most staples without wasting shelf height.
Never soak bamboo lids, since water swells and cracks them; wipe them with a damp cloth instead. Add a label to the lid as well as the jar, because jars on a high shelf are read from above. Replace a lid that no longer sits flat, since a warped lid lets humidity in and stales contents fast.
4. Clear Pantry Canisters

Clear pantry canisters replace floppy bags and half-crushed boxes with rigid, see-through storage for pasta, grains, and baking supplies. You can spot low stock instantly, pour neatly, and keep pests out with airtight seals. Tip: decant new groceries into canisters the day you shop, and keep a small scoop in each one for mess-free measuring.
Rigid canisters with airtight seals keep pasta, grains, and baking supplies fresh far longer than the bags they arrive in, and they stop pantry moths reaching your food. A canister with a wide mouth pours neatly and fits a measuring cup inside, while a narrow neck looks tidy but frustrates daily use. Clear walls let you spot low stock instantly, so shopping lists write themselves.
Decant groceries the day you shop, before bags get opened and half-crushed in the cupboard. Keep a small scoop in each canister for mess-free measuring, and wash canisters every few months, since flour dust and oil residue build up inside. A uniform canister set turns a chaotic pantry into a shelf you enjoy opening.
5. Mason Jars for Dry Goods
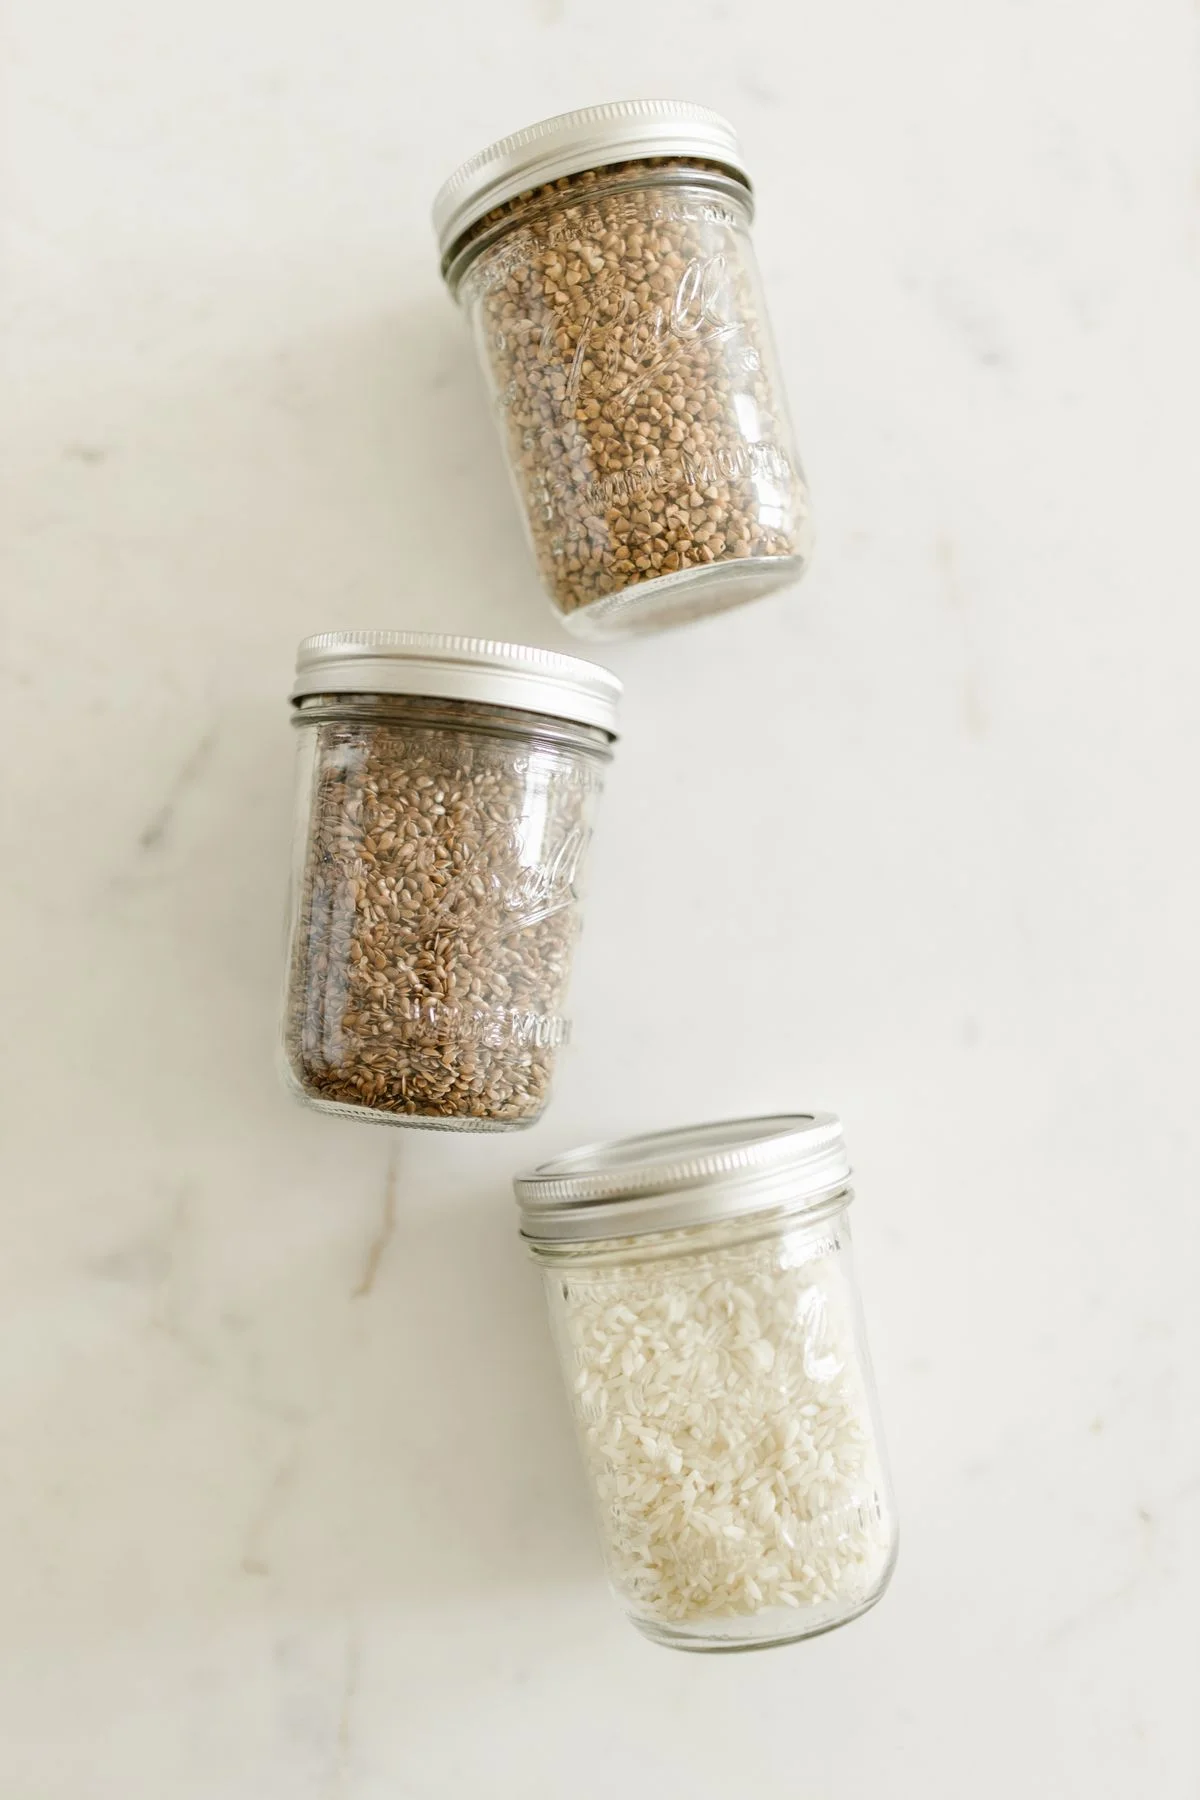
Mason jars for dry goods are the budget classic: cheap, widely available, and perfectly sized for spices, grains, nuts, and dried beans. Their two-part lids seal tightly, they stack reasonably well, and they look charming on open shelves. Tip: use wide-mouth jars for anything you scoop, and add pour-spout lids for frequently used items like sugar and oats.
Mason jars cost very little, seal tightly with their two-part lids, and come in sizes from tiny spice jars to quart jars for grains and beans. Wide-mouth jars suit scooping flour, sugar, and oats, while regular-mouth jars suit pouring and shaking. They stack reasonably well, though a jar rack or a shelf riser makes better use of vertical space.
Use pour-spout lids for frequently used items like sugar and oats, and add chalk labels so contents stay clear when jars look alike. Keep jars out of direct sunlight, since light fades spices and degrades oils. Check rubber seals yearly, because a hardened seal lets air in and stales dry goods.
6. Airtight Flour and Sugar Canisters
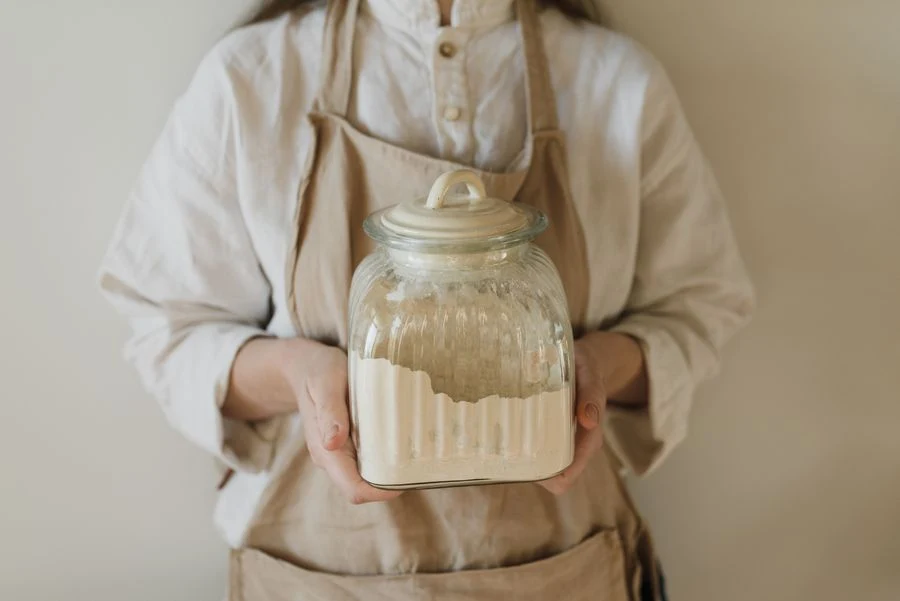
Airtight flour and sugar canisters protect baking staples from humidity, pests, and clumps, which keeps flour fresh and sugar pourable. A good seal matters more here than anywhere else in the pantry, since both ingredients suffer fast in damp air. Tip: pick canisters with a silicone gasket and a wide mouth, and store them in a cool spot away from the stove.
Flour and sugar suffer fastest in damp air, so a canister with a silicone gasket and a clamp or screw lid matters more here than anywhere else in the pantry. A wide mouth fits a scoop and a measuring cup, while a tall, narrow canister suits a deep shelf better than a short, wide one. Keep canisters in a cool spot away from the stove, since heat and steam degrade flour.
Buy canisters sized to the bag you usually buy, so refilling never leaves half a bag homeless in the cupboard. A small scoop kept inside each canister stops flour dust spreading across the shelf. Replace gaskets when they flatten or crack, since a worn gasket is no better than an open bag.
7. Cereal Dispenser Canisters

Cereal dispenser canisters keep breakfast cereals crisp, visible, and easy to pour with a simple twist or lever, ending the stale half-bag problem. Kids can serve themselves without spilling, and the airtight seal keeps cereal fresh for weeks. Tip: choose dispensers with a wide opening for easy refilling, and wash them monthly so old crumbs do not go stale inside.
Cereal dispensers with a twist or lever mechanism pour a controlled portion without spills, which suits kids serving themselves at breakfast. A dispenser holding about 1.5 liters fits a standard cereal box, and an airtight seal keeps cereal crisp for weeks instead of days. Choose a dispenser with a wide opening, since refilling through a narrow neck spills half the box.
Wash dispensers monthly, because old crumbs go stale inside and taint fresh cereal. Keep dispensers on the counter only if you use them daily, or they eat counter space better used for cooking. A dispenser that dribbles cereal when bumped needs its mechanism cleaned, not replaced. Check the seal monthly too, since a worn gasket lets humidity in and stales cereal fast.
Fridge and Fresh-Keeping Containers
Fresh food wastes fastest, so the right fridge containers pay for themselves by cutting spoilage and making leftovers easy to find.
8. Produce Saver Containers
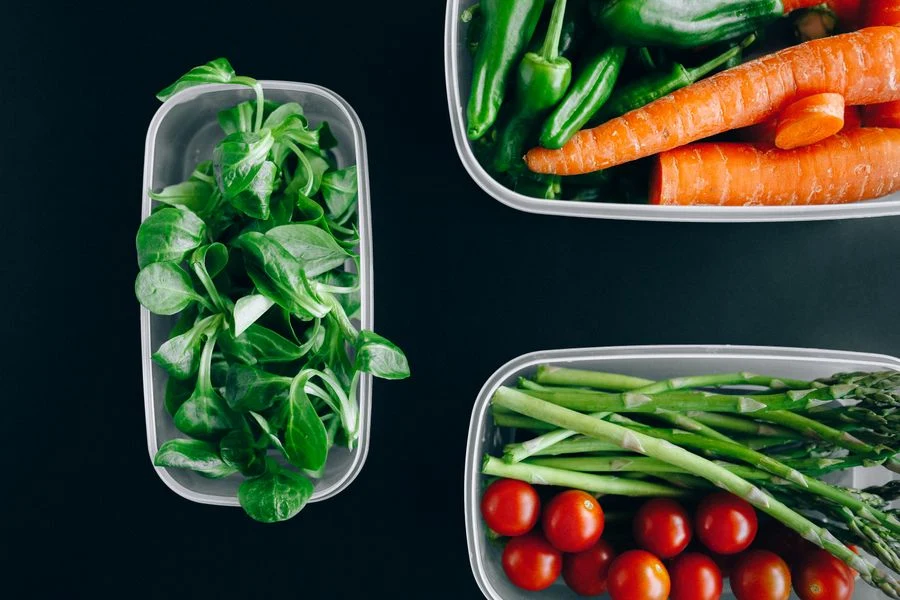
Produce saver containers use vents and moisture control to keep berries, greens, and cut vegetables fresh days longer than a plastic bag. Adjustable vents let ethylene gas escape for some produce and trap humidity for leafy greens. Tip: wash and thoroughly dry produce before storing it, and line the container with a paper towel to absorb extra moisture.
Produce savers use adjustable vents and a moisture tray to control humidity: open vents let ethylene gas escape for berries, while closed vents trap humidity for leafy greens. A container with a raised base keeps produce out of condensation, which is what turns lettuce slimy. Sizes from small berry boxes to large salad containers cover most weekly shopping.
Wash and thoroughly dry produce before storing it, since wet leaves rot faster than dry ones. Line the container with a paper towel to absorb extra moisture, and replace the towel every couple of days. Check stored produce every two days and remove anything soft, since one spoiling item speeds up the rest.
9. Divided Meal-Prep Containers

Divided meal-prep containers keep a whole meal in one box with separate compartments for protein, grains, and vegetables, so flavors never mix and portions stay controlled. They are the easiest way to prep a week of lunches in one Sunday session. Tip: choose microwave-safe, leakproof compartments, and cool food fully before sealing so condensation does not make everything soggy.
Divided containers with two or three compartments keep protein, grains, and vegetables separate, so flavors never mix and portions stay controlled. A week’s lunches prepped in one Sunday session saves daily packing time and cuts takeaway spending. Choose containers with leakproof, microwave-safe compartments and lids that seal each section separately.
Cool food fully before sealing, since trapped steam condenses and makes everything soggy. Pack wet foods like sauces in the smallest compartment, and keep crunchy items separate until eating time. Label containers with the day of the week if you prep several at once, so the oldest lunch gets eaten first.
10. Glass Meal-Prep Boxes
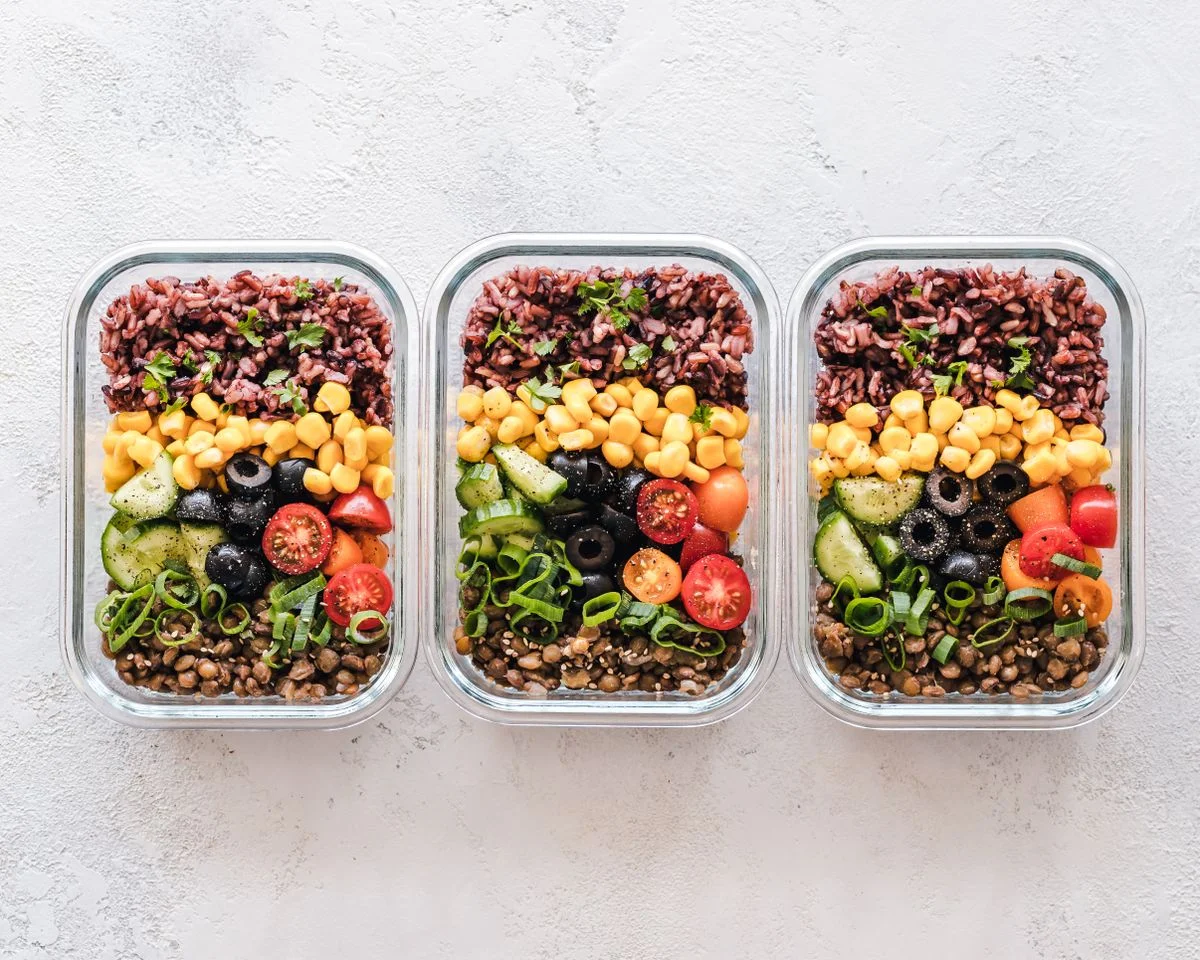
Glass meal-prep boxes are the upgrade for anyone who reheats at work or home: they go from fridge to microwave to table without transferring food, and they never stain from tomato sauces or curries. Their weight is the only trade-off, and it is worth it for durability. Tip: pick boxes with vented lids you can microwave with the lid on, and let hot food cool before sealing.
Glass meal-prep boxes go from fridge to microwave to table without transferring food, and they never stain from tomato sauces or curries the way plastic does. Their weight is the only real trade-off, and it is worth it for durability and for food that tastes clean after reheating. Boxes with vented lids microwave with the lid on, which stops splatter.
Let hot food cool before sealing, or condensation pools inside and dilutes sauces. Choose boxes with a silicone-sealed lid for soups and wet dishes, and a simpler press lid for dry foods. A set of five identical boxes simplifies stacking and lid matching, which is half the battle with meal prep.
11. Salad and Dressing Containers

Salad and dressing containers keep greens crisp by storing dressing in a separate leakproof cup until eating time, so lunch never arrives soggy. They are a small upgrade that makes packed salads genuinely enjoyable. Tip: layer dressing at the bottom only if the container has no cup, and keep crunchy toppings in their own section for the best texture.
A salad container with a separate dressing cup keeps greens crisp until eating time, so lunch never arrives soggy. The best designs include a small fork compartment and a separate section for crunchy toppings like nuts and croutons, which go soft if packed against wet leaves. A container around 1 liter suits a full lunch salad without crushing the greens.
Layer dressing at the bottom only if the container has no cup, and keep the dressing sealed until the moment you eat. Pack sturdy greens like kale below delicate leaves, so weight never bruises them. Wash the dressing cup daily, since oil residue turns rancid fast in a warm bag.
12. Bento-Style Lunch Containers
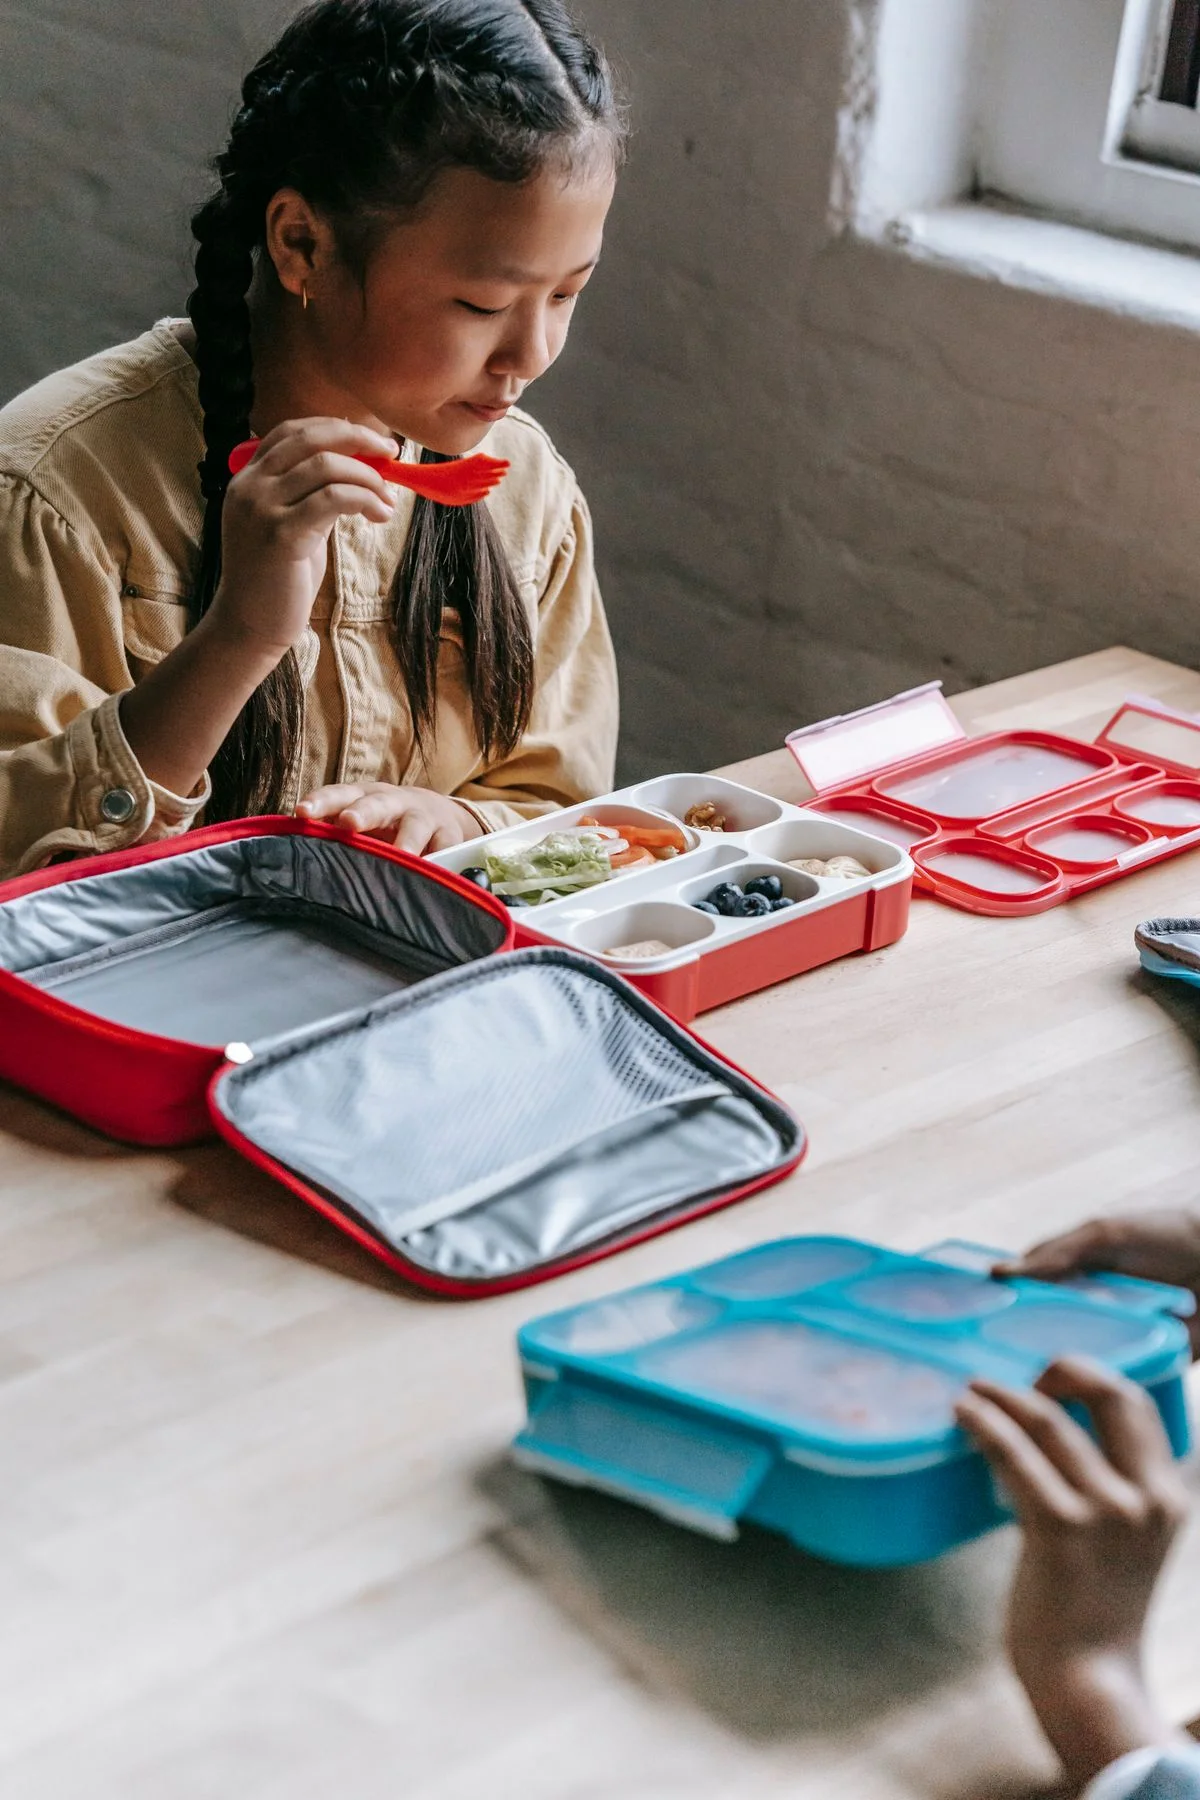
Bento-style lunch containers pack a complete lunch — main, sides, and snacks — into one compact box with leakproof sections. They suit kids and adults alike, cut down on plastic bags, and make portioning automatic. Tip: choose a bento with silicone-sealed dividers for wet foods, and pack it the night before so mornings stay calm.
Bento boxes pack a main, sides, and snacks into one compact box with leakproof sections, cutting down on plastic bags and making portioning automatic. They suit kids’ lunches and adult desk lunches alike, and a box with silicone-sealed dividers handles wet foods like yogurt and fruit without leaking into dry sections. Stainless bento boxes last longest, while plastic ones cost less.
Pack the bento the night before so mornings stay calm, and use silicone cups inside sections for extra separation. Keep the box upright in a bag, since even sealed dividers leak if flipped for hours. A bento that is too big for your bag never gets used, so measure your bag first.
13. Silicone Collapsible Containers
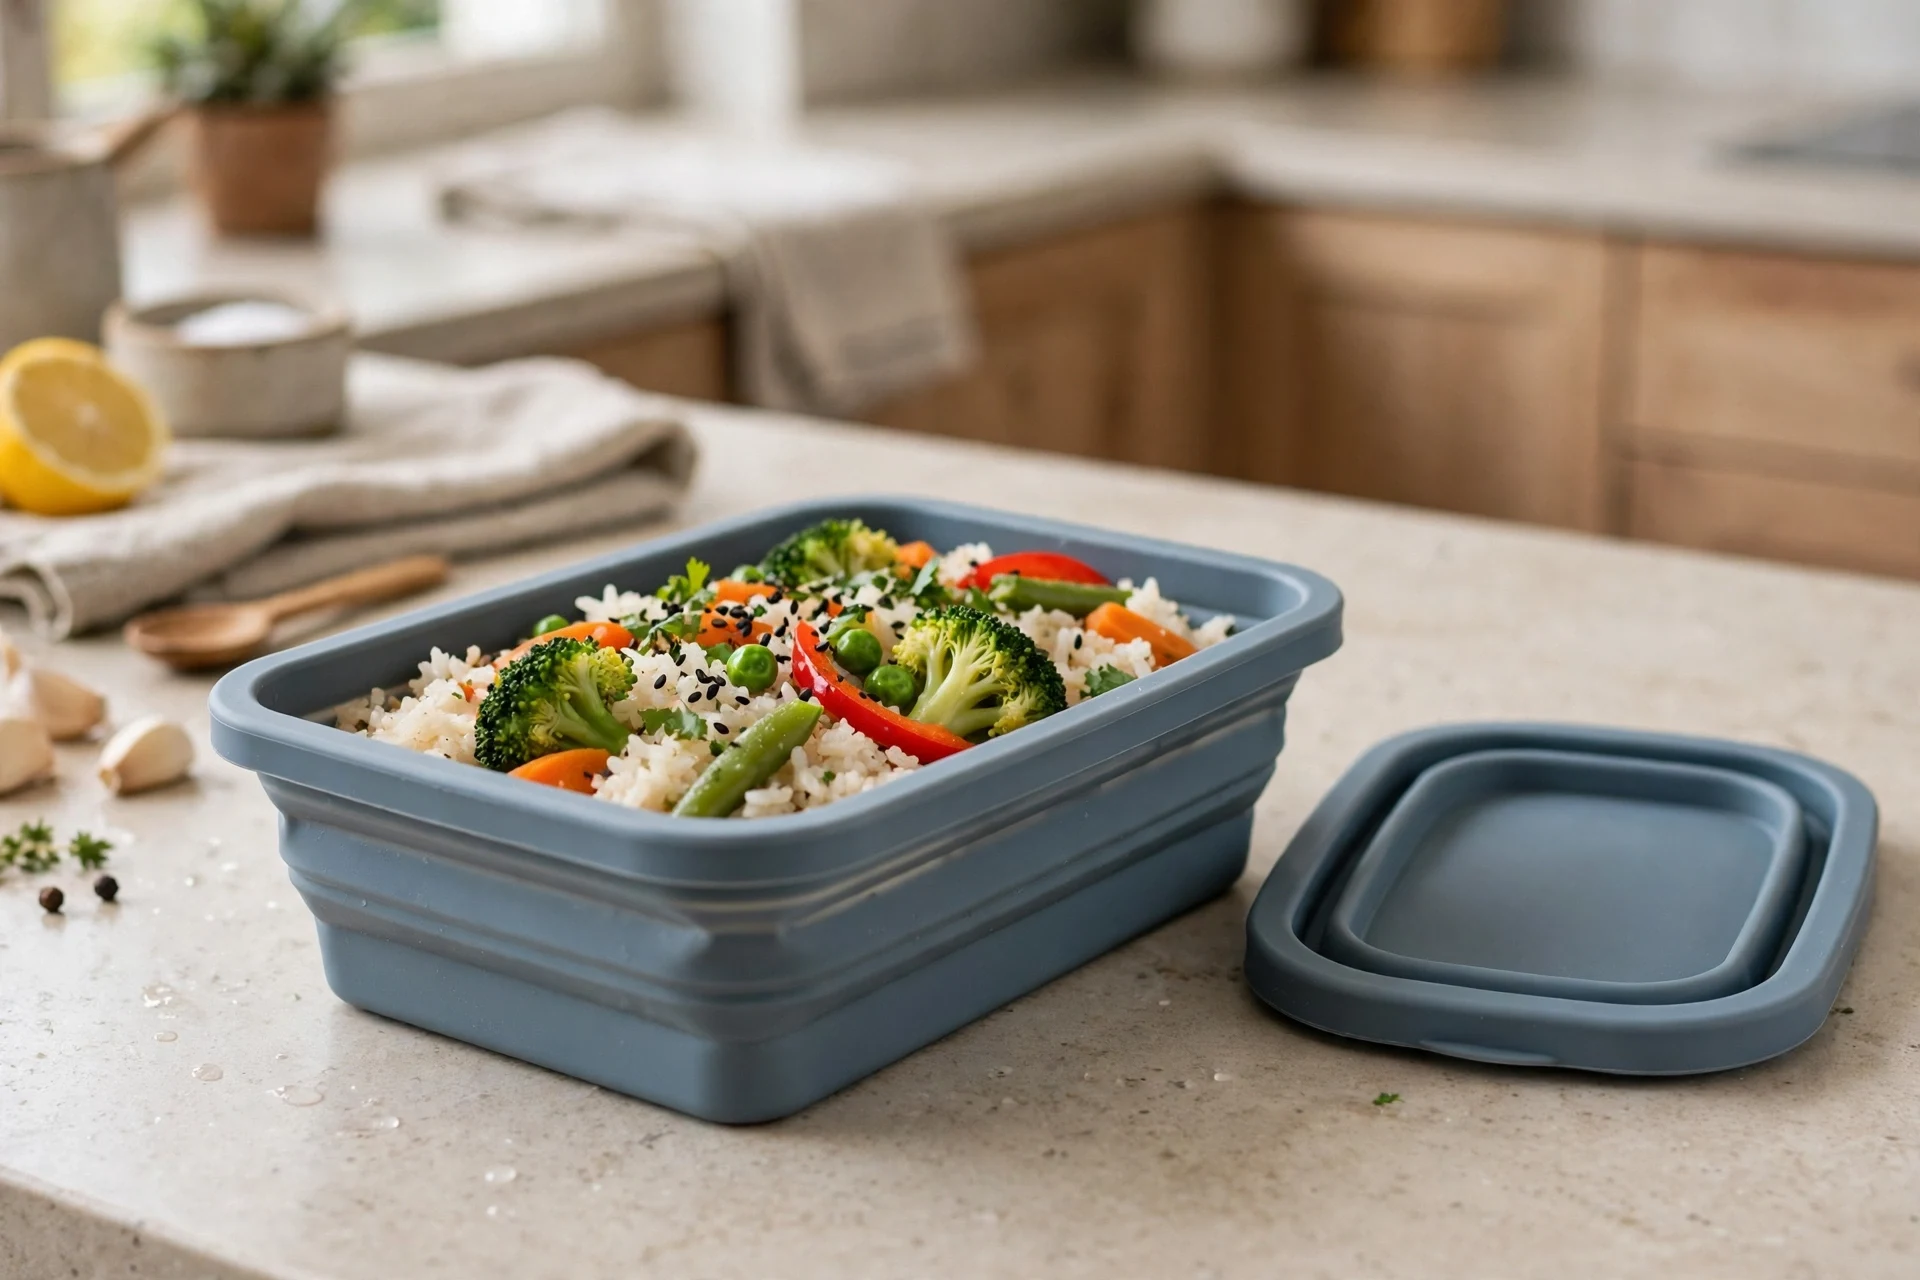
Silicone collapsible containers fold flat when empty, so they take up almost no space in a drawer or bag — perfect for leftovers on the go and small kitchens. They are microwave, freezer, and dishwasher safe, and their lids seal well for everyday foods. Tip: keep one collapsed container in your bag for takeaway leftovers, and dry the folds fully before collapsing to avoid mildew.
Silicone containers fold flat to about a third of their height when empty, so they take almost no space in a drawer or bag, which suits small kitchens and travel. They are microwave, freezer, and dishwasher safe, and their lids seal well for everyday foods like leftovers and snacks. A set with two or three sizes covers most needs without cluttering a drawer.
Keep one collapsed container in your bag for takeaway leftovers, so you never need a disposable box. Dry the folds fully before collapsing, since trapped moisture breeds mildew in the creases. Avoid silicone for very hot, oily foods straight from the pan, since extreme heat can warp thin silicone over time.
Freezer, On-the-Go, and Container Organization
The last group covers freezing, transport, and the eternal lid problem — the three things that make or break a container system.
14. Stainless Steel Containers

Stainless steel containers are nearly indestructible, light to carry, and free of plastic concerns, which makes them ideal for lunchboxes, snacks, and travel. They do not stain or hold odors, and they survive drops that would crack glass or plastic. Tip: choose steel containers with silicone-sealed lids for wet foods, and remember steel cannot go in the microwave, so transfer food before reheating.
Stainless steel containers survive drops that would crack glass or plastic, weigh little, and carry no plastic concerns, making them ideal for lunchboxes, snacks, and travel. They do not stain or hold odors, even after curries and tomato sauces, and they last for years with minimal care. Choose containers with silicone-sealed lids for wet foods, since plain snap lids leak.
Remember steel cannot go in the microwave, so transfer food to a plate before reheating. Steel also conducts heat, so a hot lunch in a steel box needs a sleeve or a bag. Wash steel promptly after acidic foods like citrus, which can dull the finish over time. A small silicone band around the lid adds grip and stops the container sliding in a bag.
15. Vacuum-Seal Containers
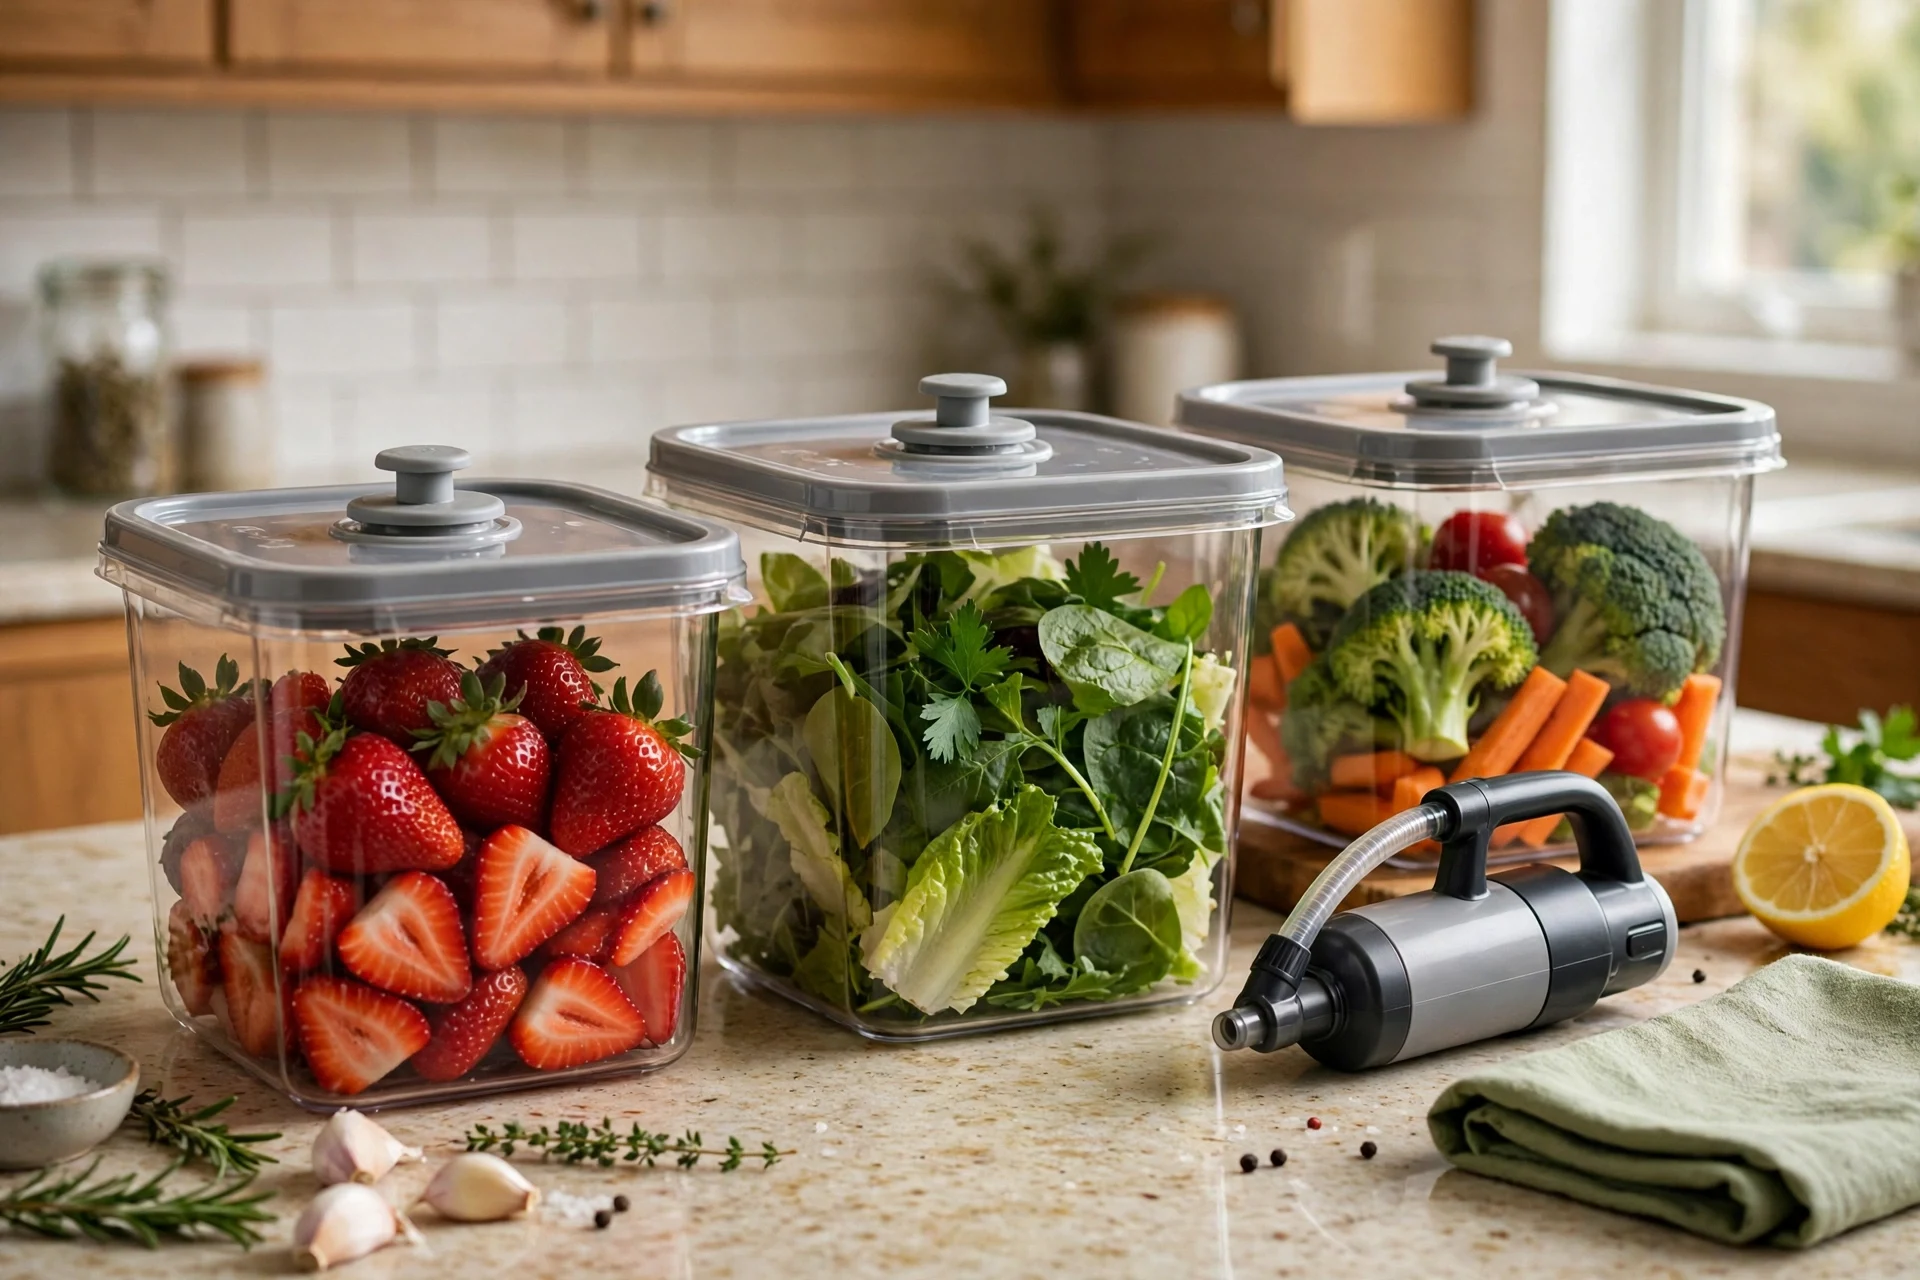
Vacuum-seal containers pump air out before sealing, which slows oxidation and keeps coffee, leftovers, and dry goods fresh far longer than a standard lid. They are especially good for items you use slowly, like specialty flours and expensive coffee. Tip: do not vacuum-seal delicate produce that bruises easily, and check the seal monthly since gaskets wear over time.
Vacuum-seal containers pump air out before sealing, slowing oxidation and keeping coffee, leftovers, and dry goods fresh far longer than a standard lid. They suit items you use slowly, like specialty flours and expensive coffee, where a normal container lets flavor fade within weeks. A hand pump or a battery pump both work, though hand pumps last longer with no batteries to replace.
Do not vacuum-seal delicate produce that bruises easily, like berries and soft herbs, since the pressure crushes them. Check the seal monthly, because gaskets wear over time and a weak seal is no better than a normal lid. Store vacuum containers away from heat, which degrades gaskets faster. Keep the pump beside the containers, or the vacuum step gets skipped and the system loses its advantage.
16. Soup Freezer Containers

Soup freezer containers freeze soups, stews, and sauces in neat, stackable portions — often in one-cup blocks — so you can defrost exactly what you need. Silicone trays with lids are especially handy because frozen blocks pop out easily. Tip: leave headspace for expansion when filling, label each portion with the dish and date, and use the oldest portions first.
Soup containers freeze soups, stews, and sauces in neat, stackable portions, often in one-cup blocks, so you can defrost exactly what you need without thawing a whole batch. Silicone trays with lids are especially handy because frozen blocks pop out easily and stack flat in the freezer. Rigid tubs suit larger family portions better.
Leave headspace for expansion when filling, since soup expands as it freezes and a full container cracks or pops its lid. Label each portion with the dish and date, and use the oldest portions first, since frozen soup keeps about three months at its best. Cool soup fully before freezing to avoid ice crystals.
17. Freezer-Safe Deli Containers
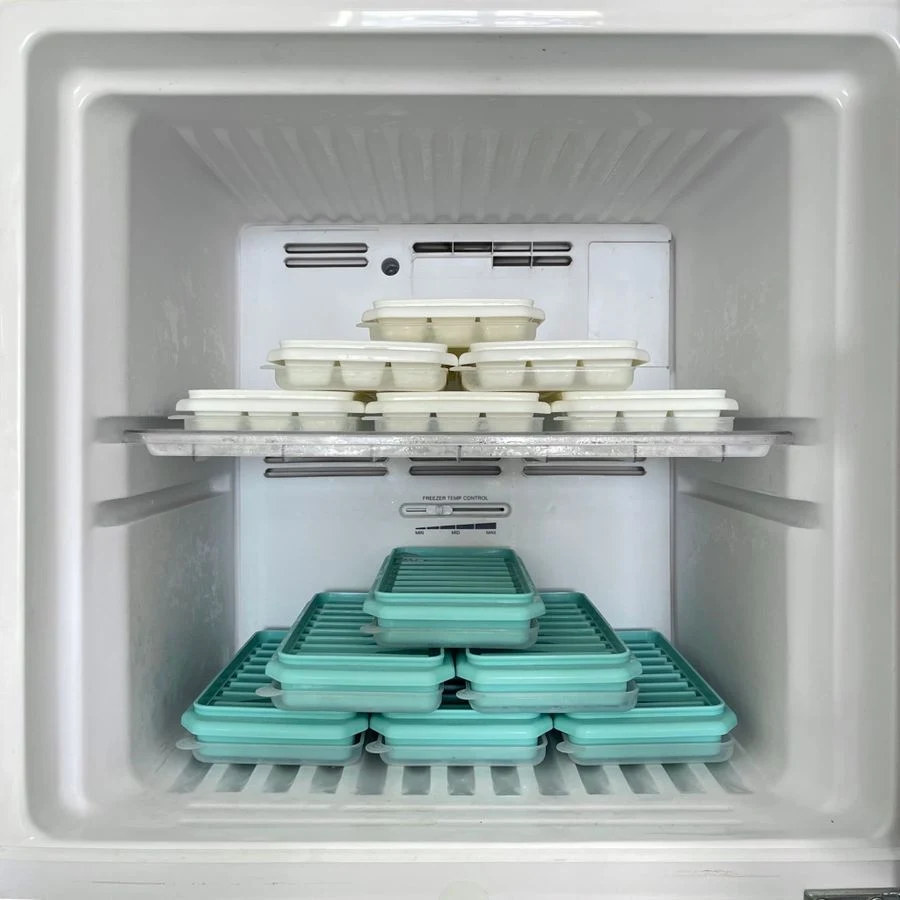
Freezer-safe deli containers are the affordable, stackable tubs that delis use, and they are brilliant for batch cooking: cheap enough to buy in bulk, sturdy enough to reuse many times, and perfectly sized for single portions. Tip: buy one size only so lids always match, and write contents and dates on masking tape rather than on the container itself.
Deli containers are the affordable, stackable tubs that delis use, and they are brilliant for batch cooking: cheap enough to buy in bulk, sturdy enough to reuse many times, and perfectly sized for single portions. A 16-ounce tub suits most leftovers, while 32-ounce tubs suit family portions. Their uniform shape stacks neatly in the freezer.
Buy one size only so lids always match, and write contents and dates on masking tape rather than on the container itself, so tubs stay reusable. Replace tubs that warp or crack, since a warped lid leaks in the freezer and causes freezer burn. Keep a marker and tape roll beside the freezer for labeling.
18. Spice Jar Set
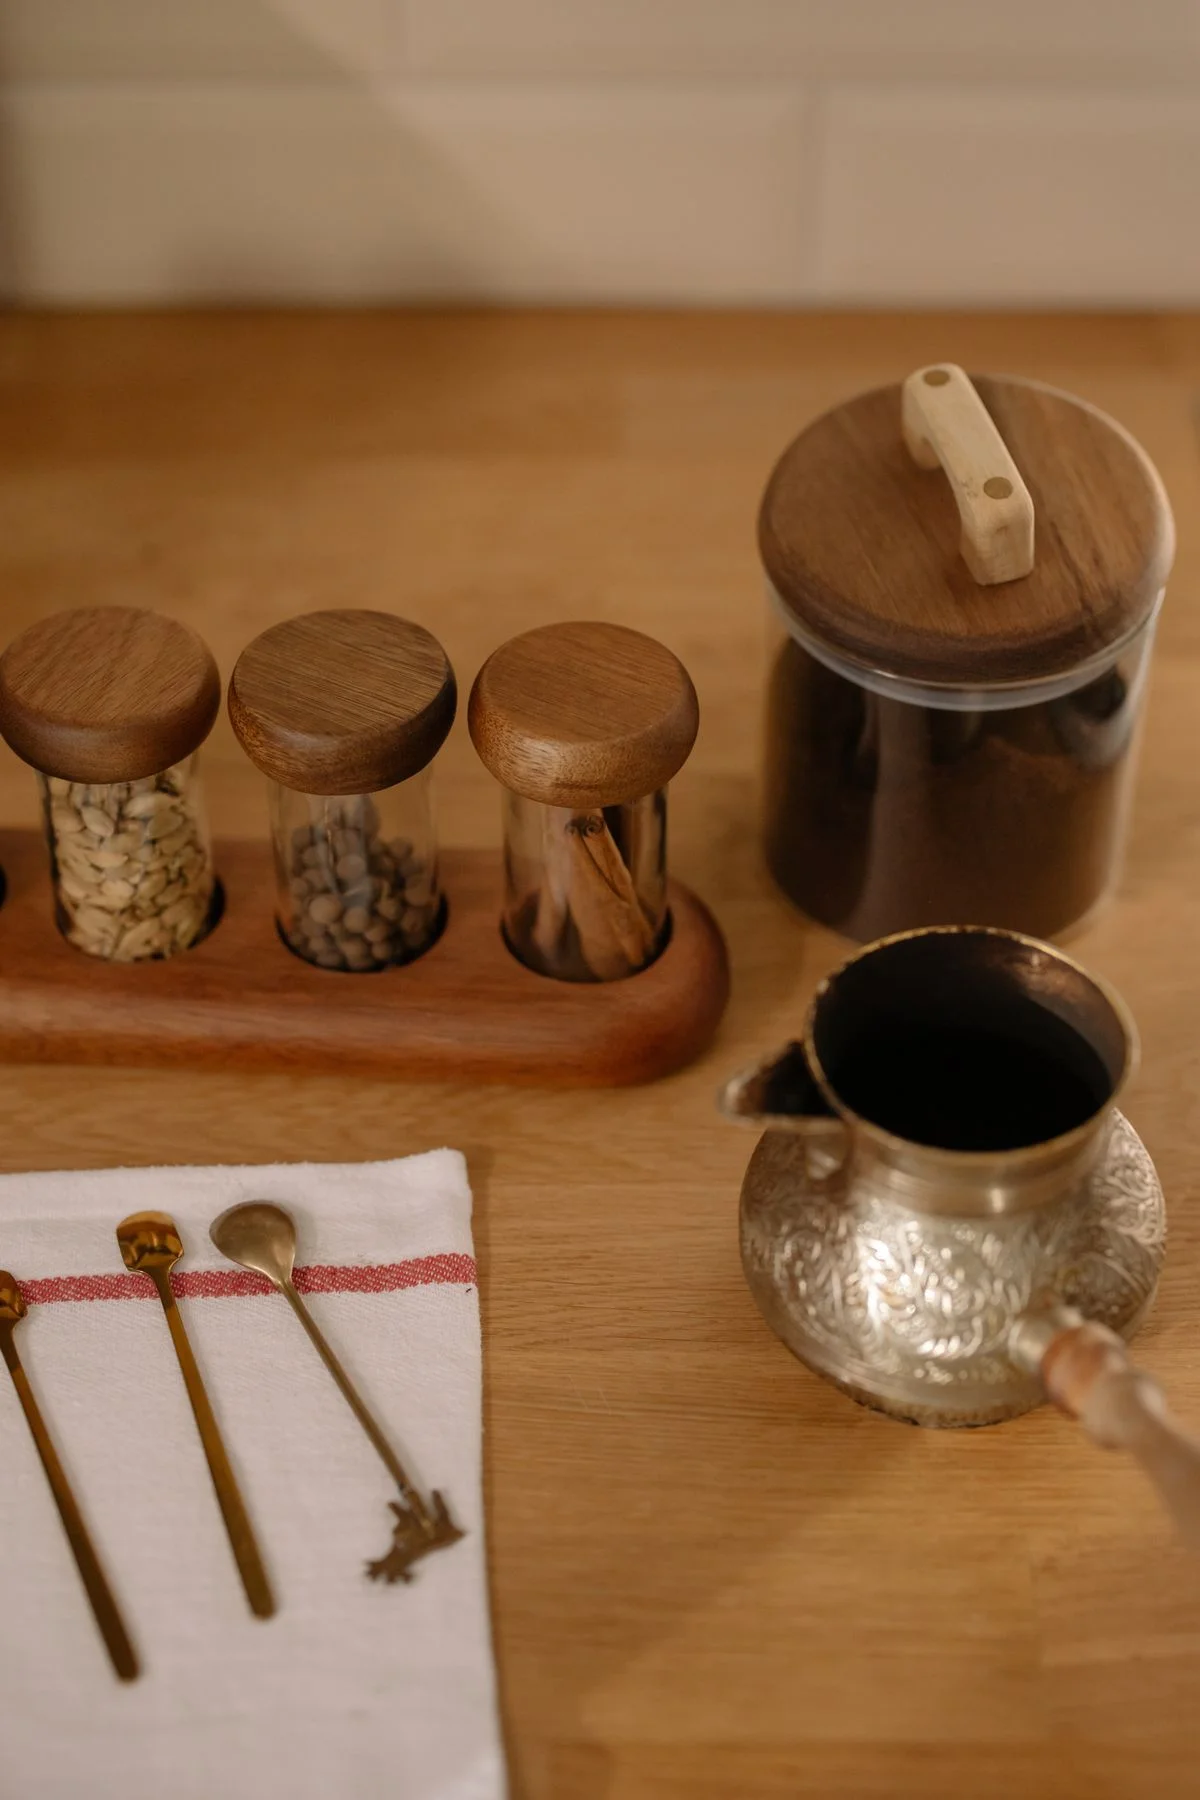
A spice jar set replaces a drawer of mismatched spice bottles with matching glass jars, uniform labels, and shaker or pour tops. Spices stay fresher in airtight glass, and a uniform set looks beautiful on a rack or in a drawer insert. Tip: buy spices in bulk and refill jars yourself to save money, and keep jars away from heat and light, which fade flavor fastest.
A matching spice jar set replaces a drawer of mismatched bottles with uniform glass jars, labels, and shaker or pour tops. Spices stay fresher in airtight glass, and a uniform set looks beautiful on a rack or in a drawer insert. Jars around 100 milliliters suit most spices, while larger jars suit frequently used ones like paprika and cumin.
Buy spices in bulk and refill jars yourself to save money, since bulk spices cost a fraction of small jars. Keep jars away from heat and light, which fade flavor fastest, so a drawer or a cupboard beats a rack above the stove. Label jars with the spice name and the purchase date, since ground spices lose potency within a year.
19. Container Lid Organizer Rack
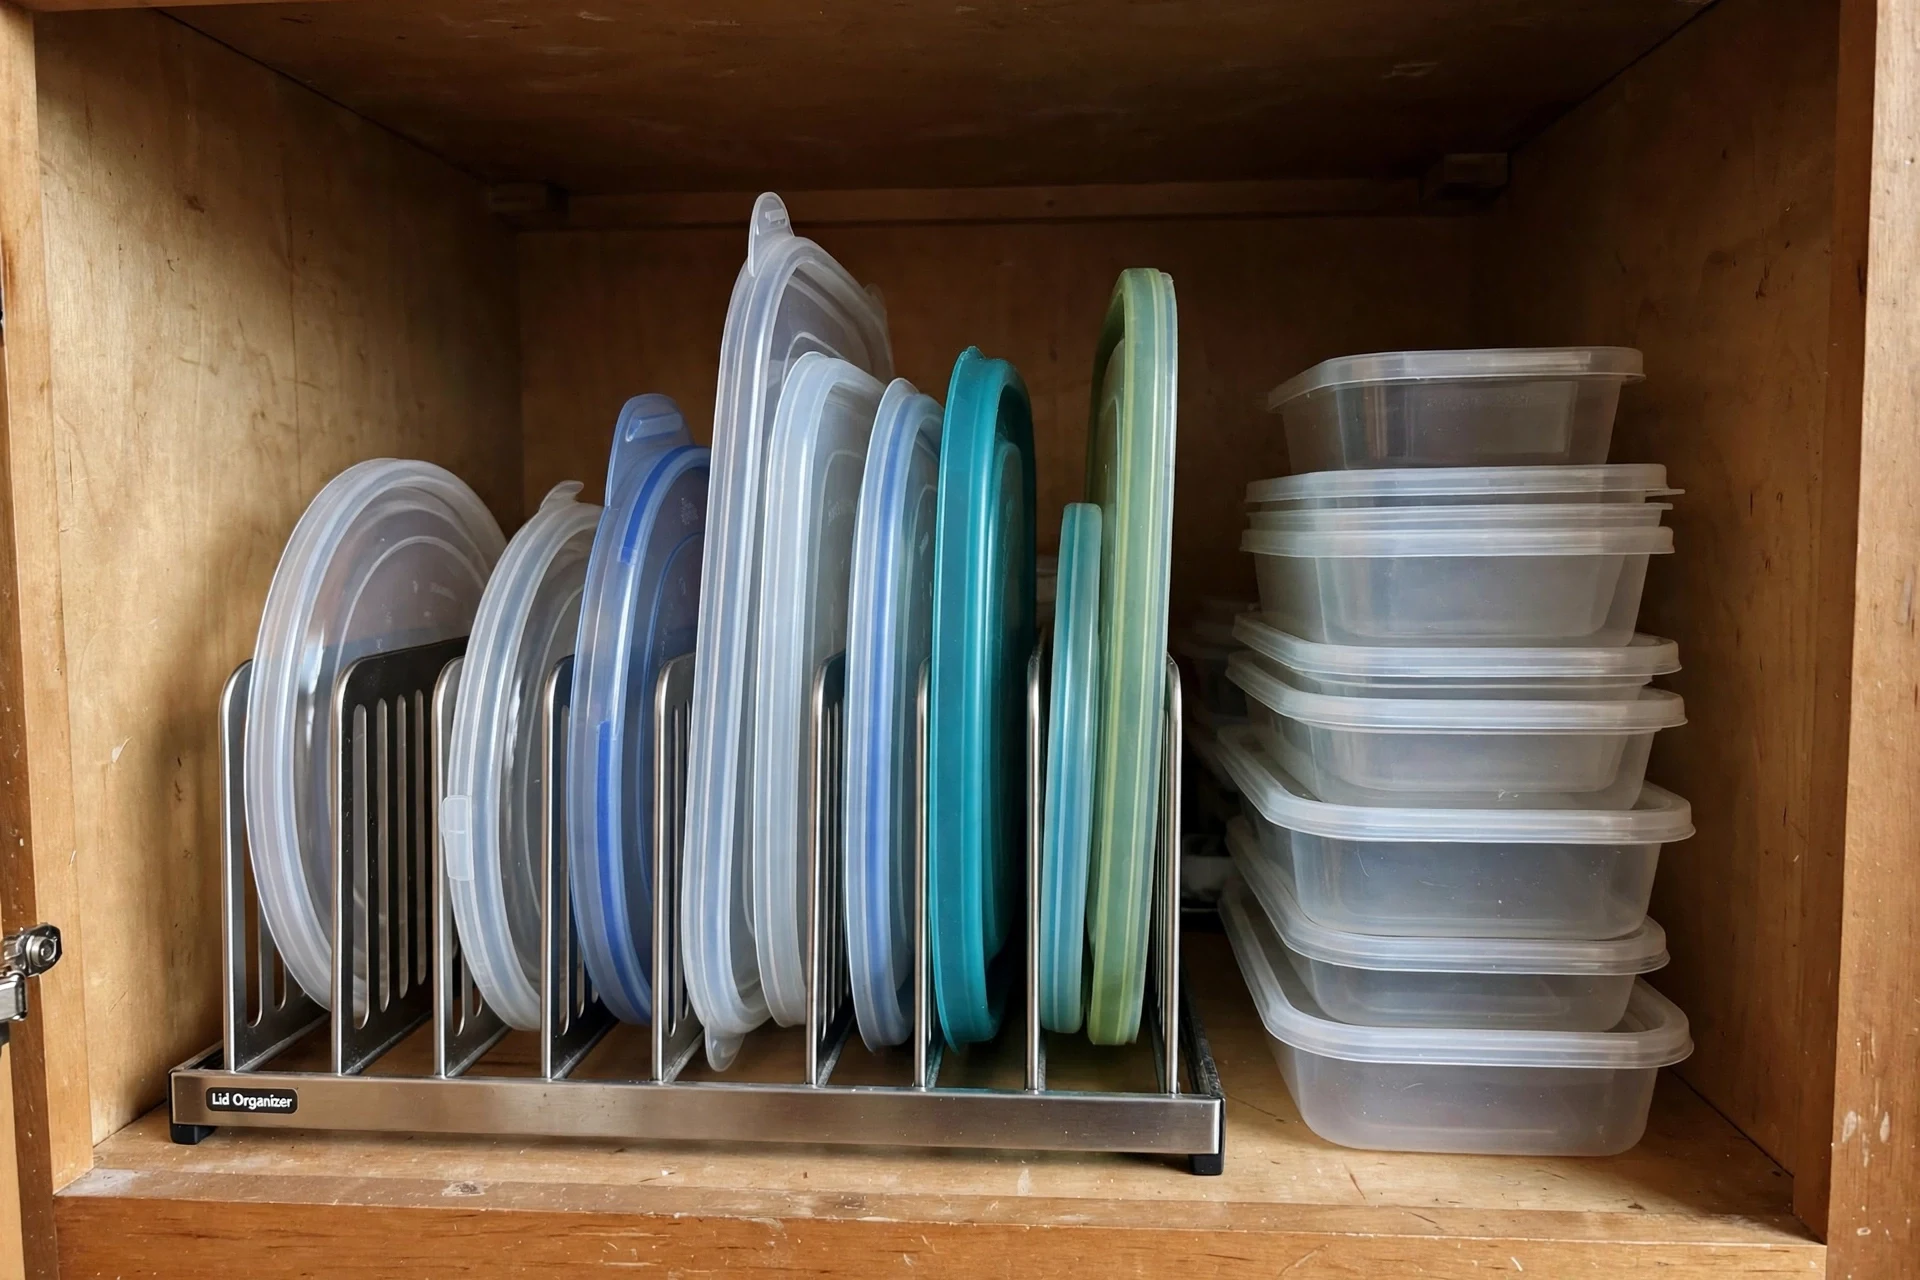
A container lid organizer rack files lids vertically like books, so you can find the right lid in seconds instead of digging through a tangled pile. It mounts inside a cabinet door or sits in a drawer, and it is the single best fix for the lid chaos that ruins container systems. Tip: sort lids by size, largest at the back, and recycle any lid whose container is long gone.
A lid rack files lids vertically like books, so you can find the right lid in seconds instead of digging through a tangled pile. It mounts inside a cabinet door or sits in a drawer, and it is the single best fix for the lid chaos that ruins container systems. Adjustable dividers suit mixed lid sizes, while fixed slots suit a uniform set.
Sort lids by size, largest at the back, so the most-used small lids sit at the front. Recycle any lid whose container is long gone, since orphan lids are the main source of lid clutter. Measure your cabinet door before buying a rack, since a rack that stops the door closing is worse than no rack.
How to Choose the Right Food Storage Containers
Start by auditing what you actually store: pantry staples need airtight, clear, uniform canisters; leftovers need leakproof, microwave-safe boxes; and freezer meals need portion-sized, stackable tubs. Pick one material family per zone — glass for the pantry and fridge, plastic or silicone for the freezer and travel — so lids stay interchangeable. Measure your shelves and fridge before buying, and choose square or rectangular shapes for the best fit. Finally, buy one matching set rather than singles, and add a lid organizer from day one: a container system only works when every lid has a home. Also, label every container with its contents and date when it holds leftovers or freezer meals, so nothing lingers past its best and your fridge stays easy to read at a glance.
Frequently Asked Questions
Are glass or plastic food storage containers better?
Glass lasts longer, does not stain or absorb odors, and reheats safely, which makes it best for pantry and fridge use. Plastic is lighter and cheaper, so it suits freezer portions and travel. Many kitchens use glass at home and plastic for on-the-go.
How do I stop losing container lids?
Buy one matching set so lids are interchangeable, store lids vertically in a rack or file organizer, and recycle any lid whose container is gone. Keeping lids in one dedicated spot ends the search for good.
What containers keep food fresh the longest?
Airtight glass containers with locking lids work best for most foods, produce savers extend fresh produce life, and vacuum-seal containers are best for slow-use dry goods like coffee and specialty flours.
Can I put food storage containers in the microwave and dishwasher?
Most glass containers and many plastic ones are microwave and dishwasher safe, but check each product’s label. Never microwave stainless steel, and avoid microwaving plastic lids unless they are marked vented and microwave-safe.
The perfect container system is not the biggest one — it is the one where every container has a matching lid, a clear label, and a home on your shelf. Start with one zone this week, whether it is the pantry or the leftover drawer, and build from there. Pin this post to your kitchen organization board so you can find it when you shop, and save the idea that will fix your messiest cabinet first. Photos: Pexels (free to use).


