

20 Backpack Storage Ideas to End the Entryway Pile-Up for Good in 2026
If backpacks end up in a heap by the front door every single day, the problem is not your family — it is the lack of a home for each bag. The right backpack storage ideas make drop-off automatic: kids hang their bags the moment they walk in, and mornings stop starting with a frantic search. From simple wall hooks to full mudroom cubbies, these ideas fit entryways, closets, bedrooms, and garages of every size.
Wall and Door Hooks That End the Floor Pile
Hooks are the fastest, cheapest fix for backpack chaos. One hook per person, placed where bags naturally land, beats any fancy system that nobody uses.
1. Entryway Hook Rail
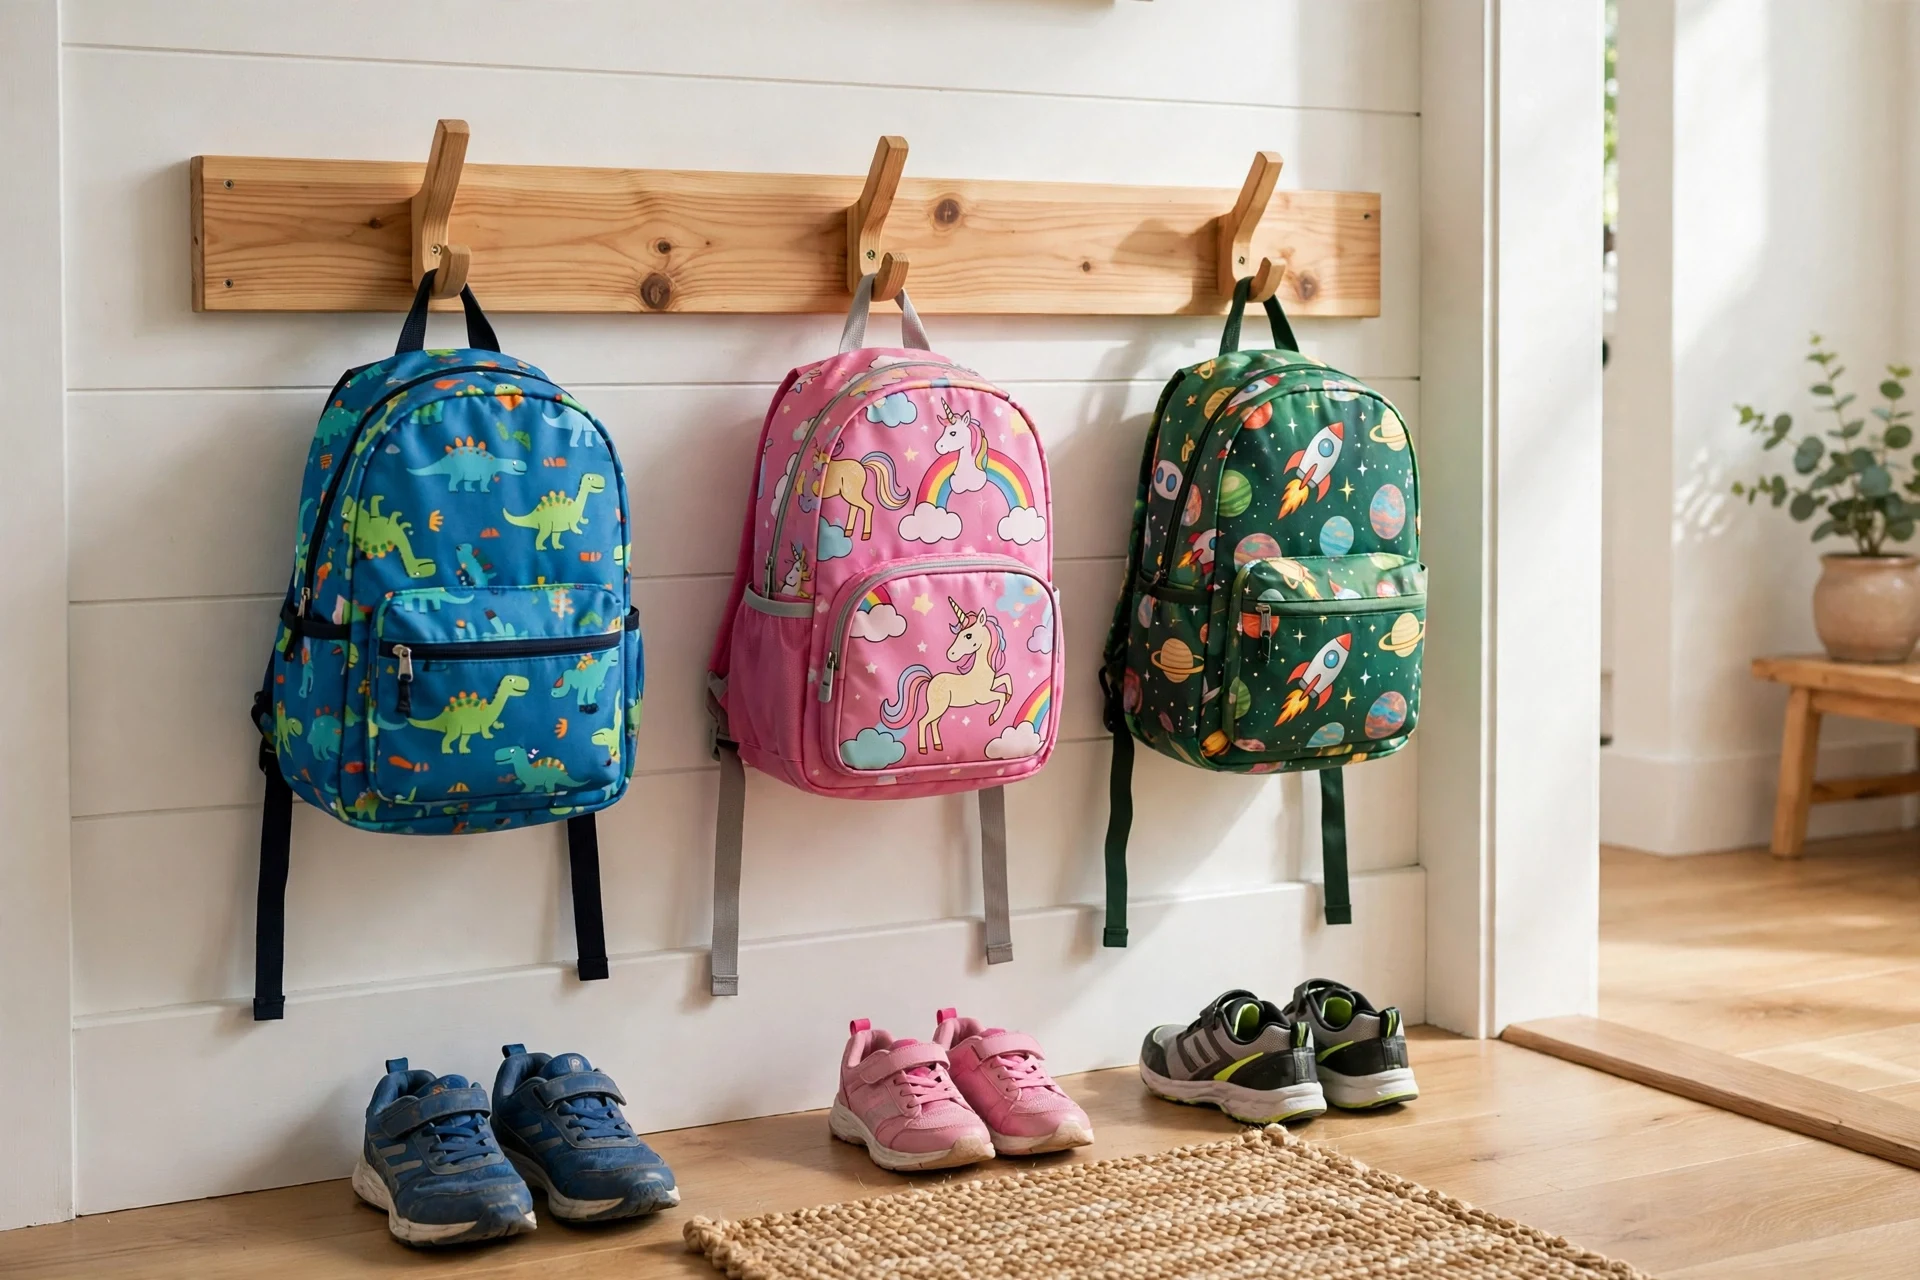
An entryway hook rail is a long wooden board with sturdy hooks that mounts beside your front door and gives every backpack a visible home. It takes an afternoon to install and instantly ends the floor pile, because hanging a bag is easier than dropping it. Choose hooks rated for heavy school bags, not light coat hooks. Tip: mount the rail at a height kids can reach on their own, and add one spare hook for guests or a gym bag.
A rail about 36 to 48 inches long with four or five hooks suits most families, and a hardwood board at least three-quarters of an inch thick will not bow under loaded bags. Screw the rail into wall studs, not drywall anchors, since a row of school bags can weigh 30 kilos or more. A rail with a small shelf on top adds a spot for keys and sunglasses without extra hardware.
Mount the rail at a height every family member can reach, usually about 48 inches for younger kids and 60 inches for adults, or stagger two rails at different heights in a shared hallway. Keep one spare hook free at all times for guests, gym bags, and shopping totes, or the rail overflows the week a friend visits.
2. Individual Wall Hooks per Kid

Individual wall hooks per kid turn backpack storage into a personal habit. Give each child their own hook — in their own color, with their name above it — and hanging the bag becomes their job, not yours. Space hooks widely enough that full bags do not crowd each other. Tip: put a small basket or tray under each hook for lunchboxes and water bottles, so the whole school kit lives in one spot.
Assign each child a hook color or a nameplate above it, and hang the hook at their shoulder height so hanging the bag needs no help from an adult. Space hooks at least 12 inches apart, because a full backpack is wider than it looks and crowded hooks lead to bags knocked onto the floor. A small tray or basket under each hook catches lunchboxes, water bottles, and permission slips.
Make the hook a non-negotiable part of the after-school routine for the first two weeks, and the habit usually sticks on its own after that. If a child’s bag keeps ending up on the floor, the hook is probably too high, too crowded, or too far from the door, so move it before blaming the child.
3. Over-the-Door Backpack Hooks

Over-the-door backpack hooks hang a row of sturdy hooks over any interior door, adding instant storage with zero drilling. They are perfect for renters, dorm rooms, and kids’ bedrooms, where a bag can live behind the door instead of on the floor. Tip: choose a metal hook rack that fits your door thickness, and keep the heaviest bag on the hook closest to the hinge so the door still closes smoothly.
Most over-door racks fit standard interior doors between 35 and 45 millimeters thick, with foam pads that protect the door’s finish and stop rattling. A steel rack with five or six hooks holds several bags, while a single-hook version suits a dorm room or a child’s bedroom door. Check that the door still closes and latches with the rack fitted, since a rack that props the door open defeats its own purpose.
Hang the heaviest bag on the hook closest to the hinge, where the door frame carries the load best, and keep lighter bags toward the handle side. If the door starts sagging or the hinges squeak, move the heaviest bag to a wall hook instead. A felt pad behind each hook stops the rack marking painted doors over time.
4. Wall-Mounted Folding Hooks

Wall-mounted folding hooks flip down when you need them and fold flat against the wall when you do not, so hallways stay clear in the off-season. They hold a full backpack easily and look neat when empty, which makes them ideal for narrow entryways where fixed hooks would snag coats and sleeves. Tip: install them in pairs a bag-width apart for heavier hiking packs, and check the weight rating before hanging a loaded bag.
Folding hooks usually carry 7 to 10 kilos each, enough for a loaded school bag, but check the rating before hanging a hiking pack stuffed with gear. Install them into studs or solid masonry anchors, since a folding hook that pulls out of drywall leaves a large hole. A pair of hooks spaced a bag-width apart shares the load of heavier packs and stops the bag swinging.
The real advantage shows in narrow hallways, where fixed hooks snag coats, sleeves, and passing shoulders all winter. Fold hooks flat during holidays or summer break, and the hallway feels wider instantly. Teach kids to flip the hook down before hanging the bag, or the bag ends up on the floor anyway.
5. Peg Rail With Labels

A peg rail with labels combines classic wooden pegs with a name tag or small chalk label above each one, so there is never an argument about whose hook is whose. Pegs hold bags by their top loop without crushing straps, and the rail itself adds farmhouse charm to a hallway. Tip: use long pegs that angle slightly upward so bags stay put, and refresh labels at the start of each school year.
A peg rail with pegs about 4 inches long, angled slightly upward, holds a backpack by its top loop without crushing straps or zippers. Wooden pegs suit a farmhouse hallway, while metal pegs suit heavier bags, and a chalk label or a small wooden name tag above each peg ends arguments about whose hook is whose. Space pegs 14 inches apart so full bags do not crowd each other.
Refresh labels at the start of each school year, when bags and owners change, and keep one spare peg free for guests. If a peg loosens, remove it, fill the hole with a glued dowel, and re-drill, rather than forcing a larger screw that splits the rail. A dab of wood glue on the peg base keeps it snug through years of daily tugging.
6. Backpack Wall Shelf With Hooks
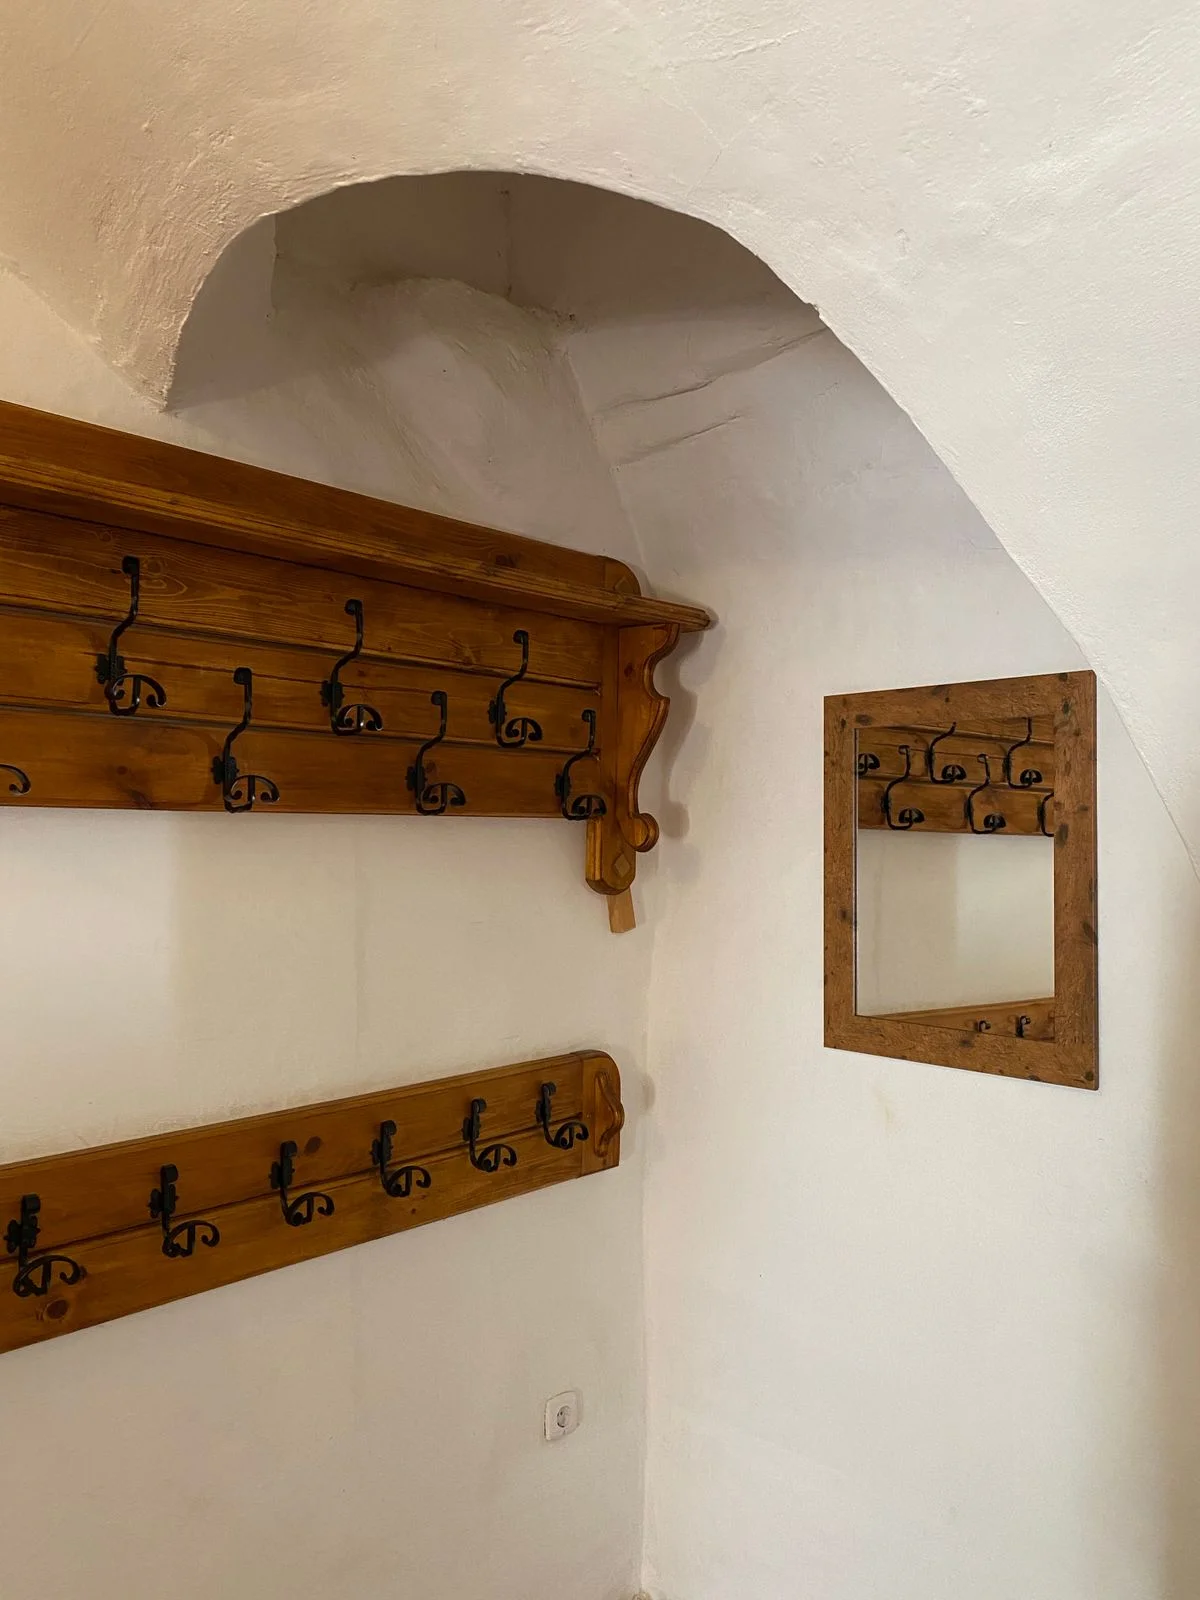
A backpack wall shelf with hooks underneath gives you two storage layers in one: bags hang below while lunchboxes, hats, and keys sit on the shelf above. It is a compact mudroom in a single board, perfect for small entryways that cannot fit a bench. Tip: keep the shelf shallow so it does not crowd the hallway, and add small bins on top for each person’s extras.
A shelf-and-hook board about 36 inches wide gives you two storage layers: bags hang below on sturdy hooks while lunchboxes, hats, and keys sit on the shelf above. Keep the shelf shallow, about 6 inches deep, so it does not crowd the hallway or bonk tall visitors. Small bins on the shelf, one per person, stop hats and gloves migrating into a single pile.
Mount the board at a height where the hooks sit at shoulder level for the shortest user, since a board hung for adults never gets used by kids. A row of small adhesive labels on the shelf edge marks whose bin is whose, and a weekly two-minute reset keeps the shelf from becoming a dumping ground.
7. Freestanding Backpack Rack
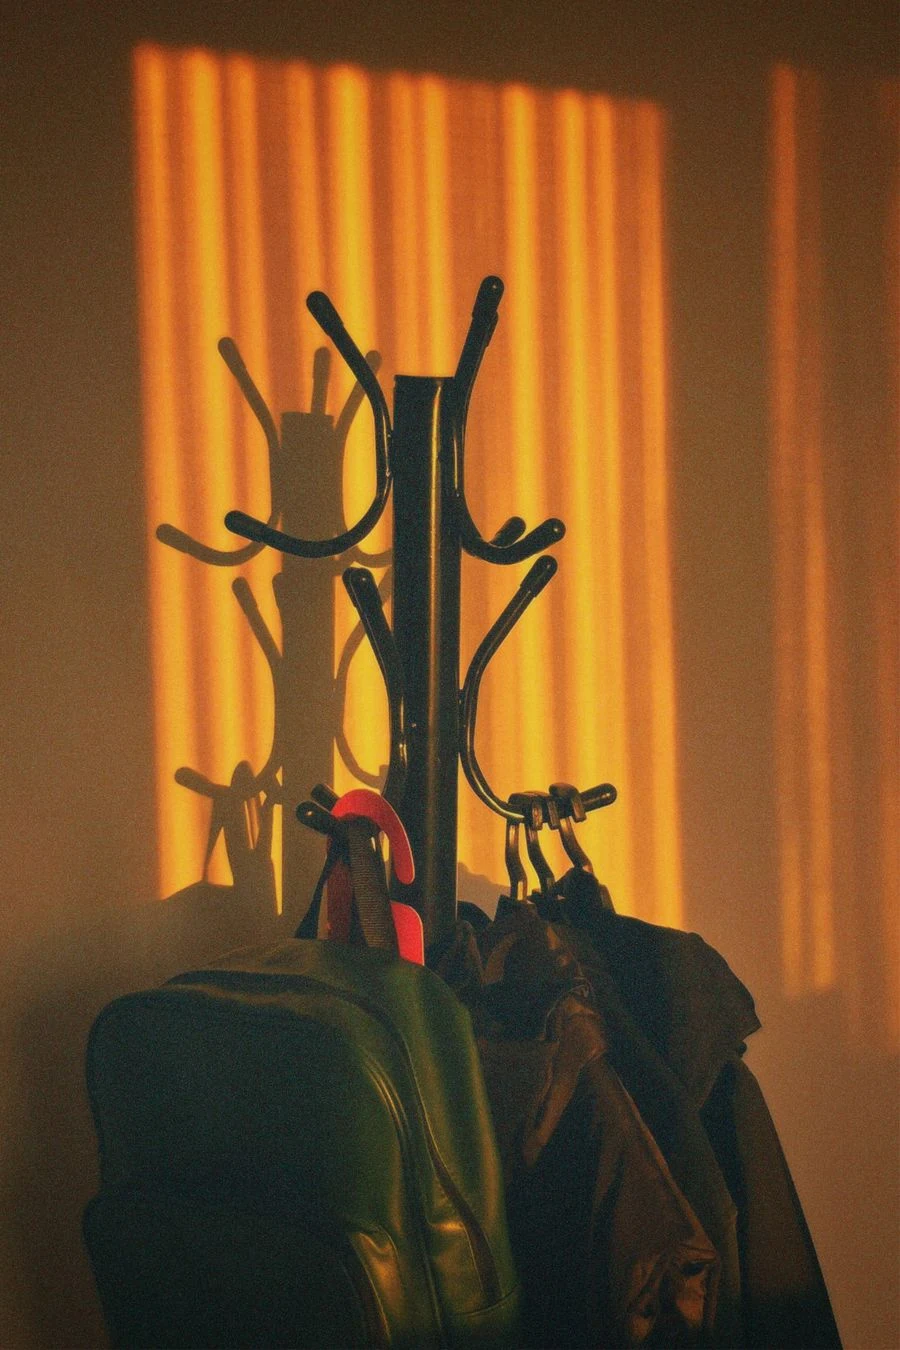
A freestanding backpack rack stands on the floor and needs no wall at all, which makes it ideal for renters or rooms where you cannot drill. With hooks or pegs on several sides, one rack can hold a whole family’s bags in a corner of the entryway. Tip: choose a rack with a wide, weighted base so it cannot tip when kids yank a bag off, and place it where it does not block the door swing.
A freestanding rack with a wide, weighted base and hooks on three or four sides holds a whole family’s bags in a single corner, no drilling required. Look for a base at least 18 inches across and a total height around 68 inches, so adult bags hang clear of the floor. Metal racks outlast wooden ones when kids yank bags off in a hurry.
Place the rack where it does not block the door swing or a light switch, and put a small mat beneath it to protect floors from scuffs. If the rack wobbles when a bag is pulled off, add weight to the base or move it against a wall for support. A rack that tips once loses everyone’s trust in it.
Cubbies, Benches, and Bins for Busy Families
When hooks are not enough, cubbies and bins give each bag its own compartment — and hide the mess behind a tidy front.
8. Mudroom Cubby System
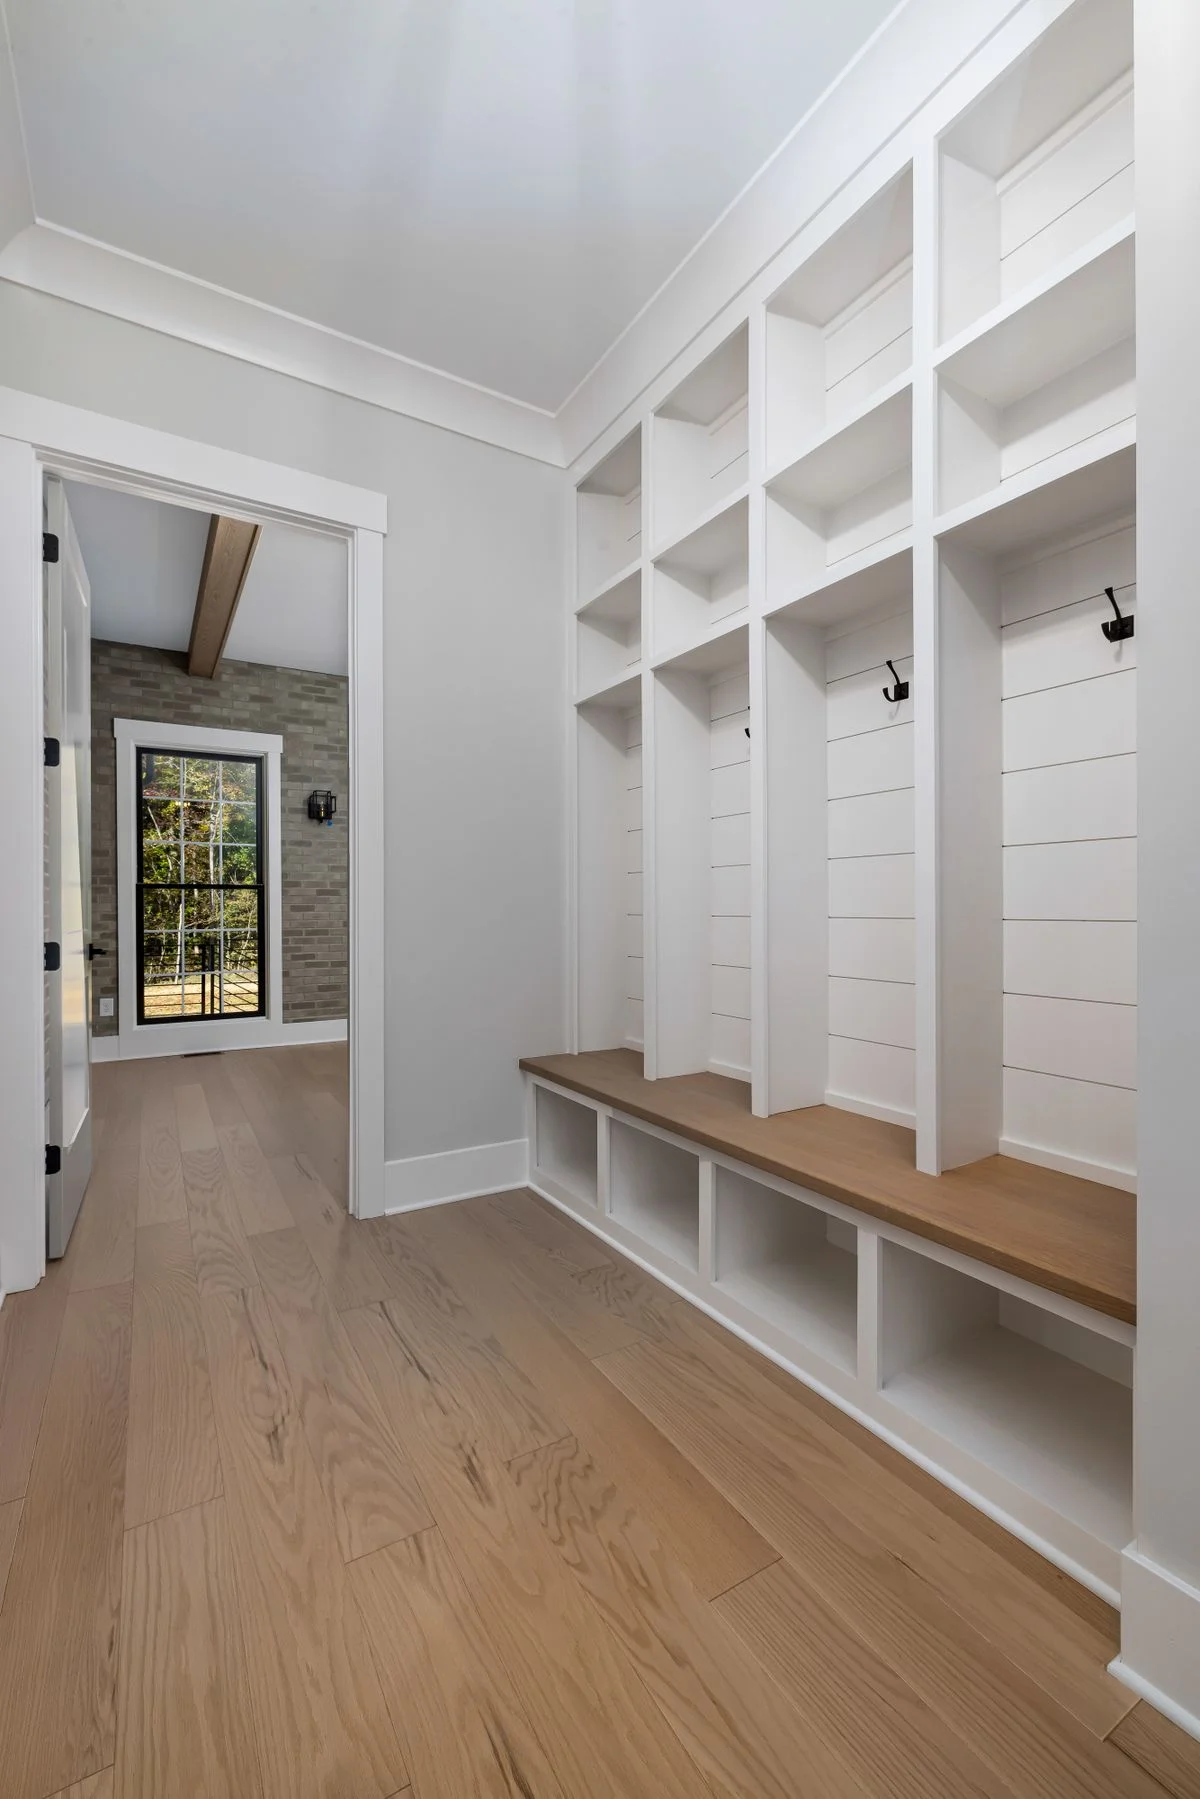
A mudroom cubby system gives every family member a tall, open compartment sized for a backpack, a coat, and shoes below. Bags slide in upright, stay visible, and never pile on each other, which also protects straps and zippers. Built-in or freestanding units both work well. Tip: size each cubby for your largest bag plus a jacket, and add a nameplate so kids take ownership of their space.
A cubby unit with compartments about 15 inches wide and 18 inches deep fits a full backpack, a coat, and a pair of shoes below, though you should measure your largest bag before buying. Built-in cubbies look seamless in a mudroom, while freestanding units suit renters and cost far less. Open cubbies beat closed lockers for daily bags, since you can see at a glance what is missing.
Add a nameplate or a color-coded bin to each cubby so kids take ownership of their space, and keep a boot tray beneath the unit for wet shoes. Leave one cubby empty if you can, because a system with no spare capacity overflows the moment a guest arrives with a bag.
9. Entryway Bench With Cubbies
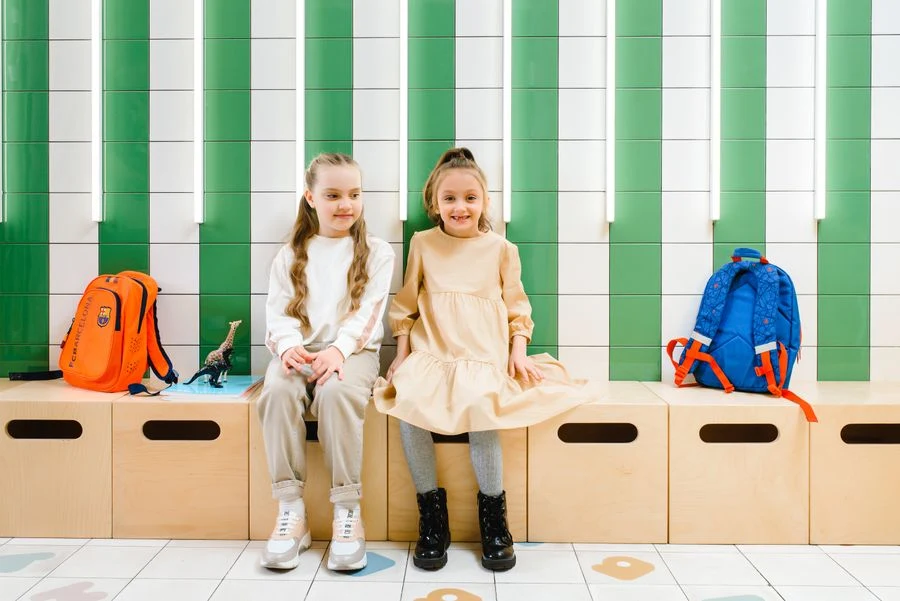
An entryway bench with cubbies underneath pairs a seat for putting on shoes with open storage below for backpacks and shoes. Kids can sit, unpack, and stash their bag in one motion, which makes the morning routine genuinely smoother. Tip: choose a bench with cubbies tall enough for an upright backpack, and keep a small tray on the bench for keys and sunglasses.
A bench about 48 inches wide with cubbies 18 inches tall underneath fits most backpacks standing upright, plus shoes beside them. The seat lets kids sit to put on shoes and unpack in one motion, which genuinely smooths the morning routine. Choose a bench with a solid top that withstands wet shoes and muddy bags, and a wipe-clean finish for easy care.
Keep a small tray on the bench for keys, sunglasses, and wallets, so the bench top never becomes a dumping ground. If the bench sits by the front door, add a wall hook above it for coats, turning the bench into a complete mudroom in a few square feet. Measure the space first, since a bench that blocks the door swing causes more chaos than it solves.
10. Labeled Storage Bins for Backpacks
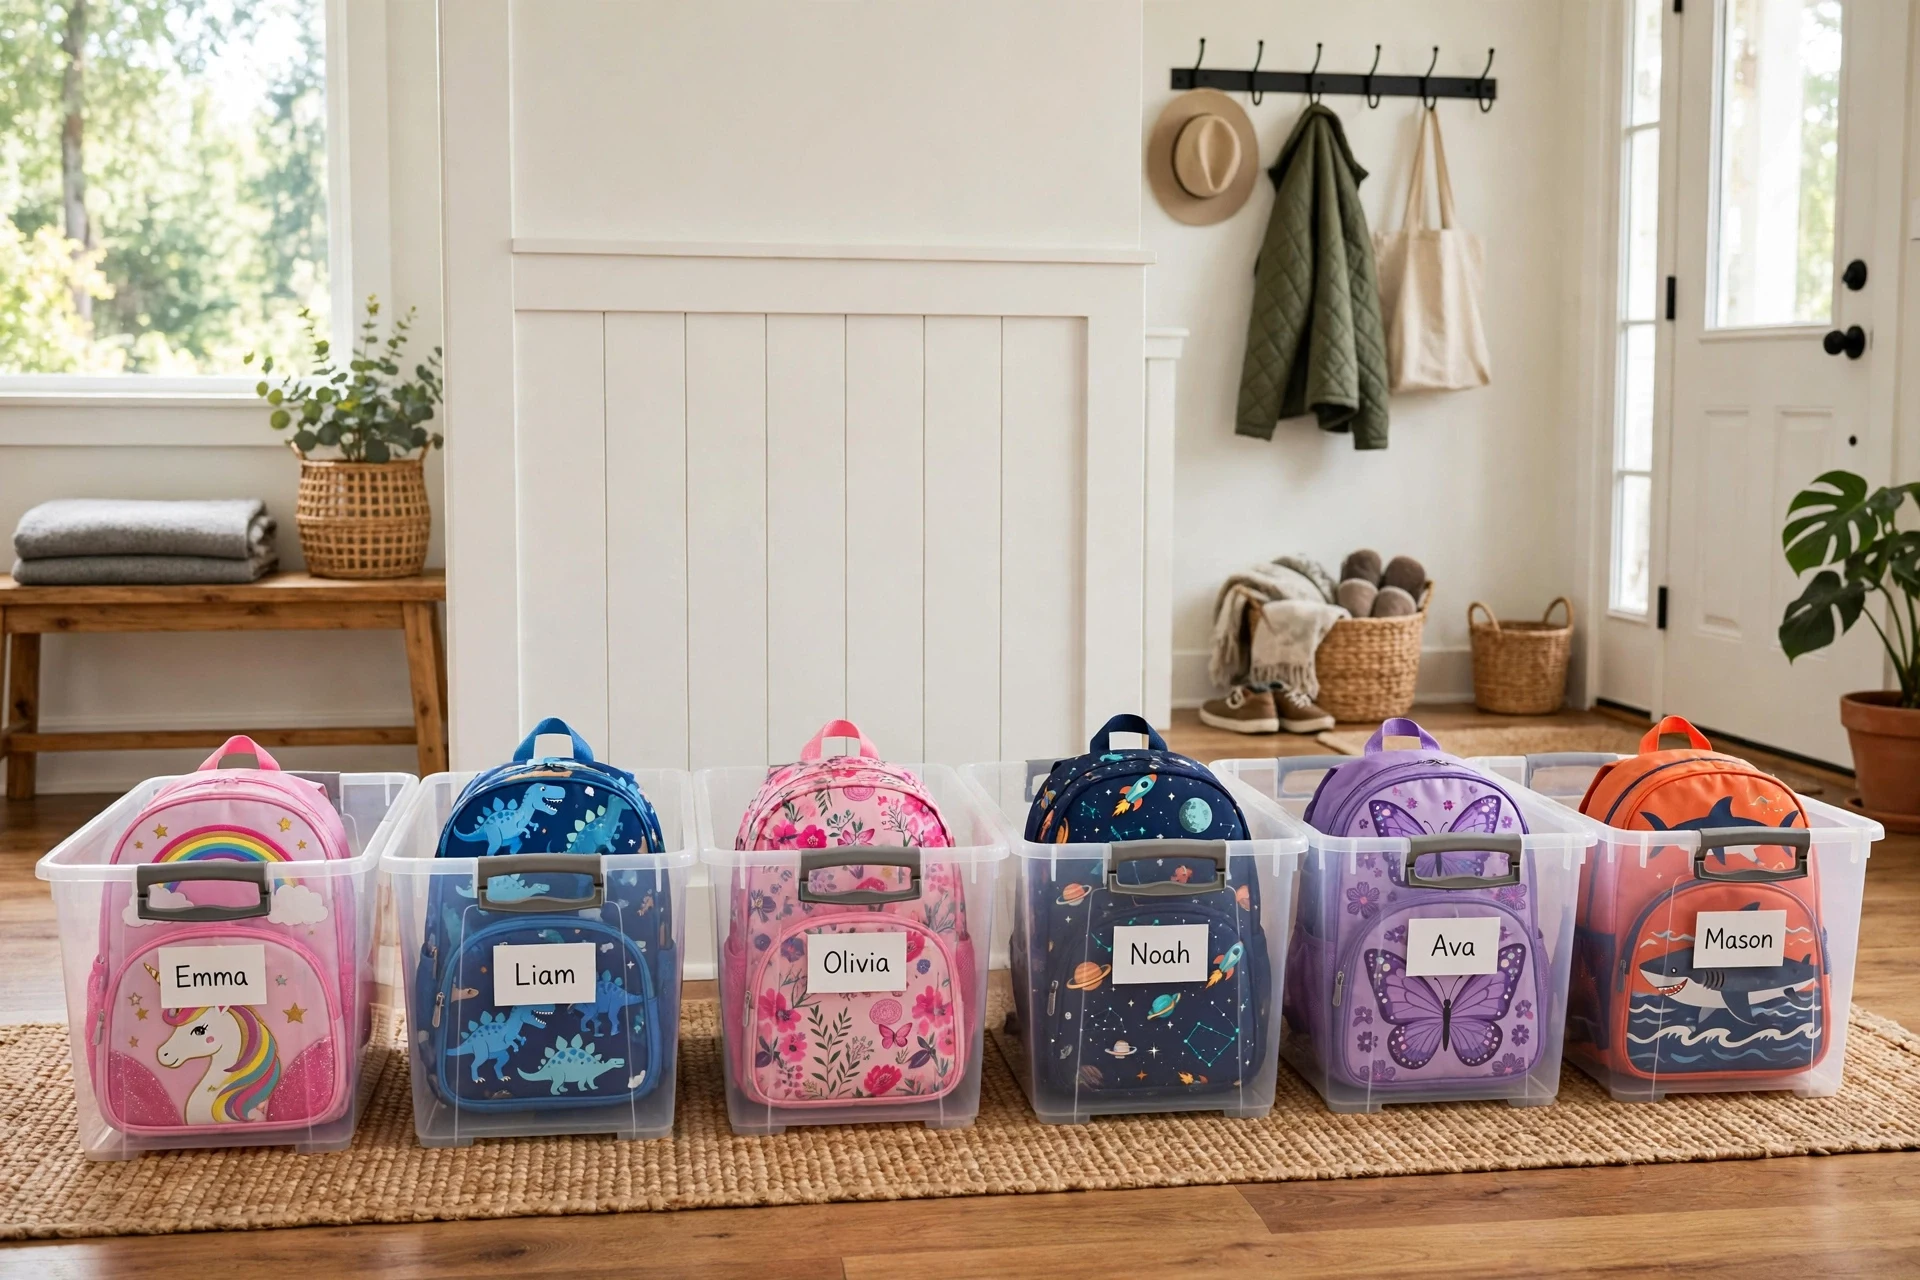
Labeled storage bins for backpacks turn a shelf or a row of cubbies into personal lockers. Each person gets a sturdy bin, their bag goes inside, and the label ends all confusion. Bins also keep bags dust-free between school terms or travel seasons. Tip: pick bins with open fronts or handles so bags slide in and out easily, and use bins large enough for a fully packed bag.
Sturdy bins about 16 inches long and 12 inches wide hold a fully packed school bag, while open-front bins let kids slide bags in and out without lifting a lid. Label each bin with a name or a color, and keep bins on a shelf or inside cubbies at a height kids can reach. Fabric bins look softer but sag under heavy bags, so rigid plastic or woven seagrass lasts longer.
Use bins for off-season and spare bags too, since a closed bin keeps dust off a bag stored between terms. Keep one bin empty as a sorting spot for bags that need washing or repair. A bin that is too small teaches kids to leave the bag beside it instead, so size up if bags bulge over the rim.
11. Rolling Bin per Child

A rolling bin per child is a small wheeled bin that holds a backpack plus school supplies, and can be rolled to the door in the morning and back to a corner at night. It works brilliantly in homes without a mudroom, since the bin itself becomes the storage zone. Tip: keep one bin per child in a matching color, and add a weekly clean-out so old papers do not live in the bin forever.
A rolling bin about 18 inches wide with sturdy wheels and a handle lets a child roll their school kit to the door in the morning and back to a corner at night. It suits homes without a mudroom, since the bin itself becomes the storage zone, and it holds a backpack plus books, lunch gear, and sports kit in one mobile unit. Choose bins with locking wheels so they stay put overnight.
Give each child a matching bin in their own color, and add a weekly clean-out to the routine, since old papers, broken pencils, and mystery snacks collect fast. A bin that rolls easily on hard floors may struggle on thick carpet, so test the wheels on your flooring before buying several.
12. Woven Basket per Backpack

A woven basket per backpack is the prettiest way to hide bag clutter: each bag drops into a large, sturdy basket on the floor or a low shelf. Baskets soften the look of an entryway far better than plastic bins and still keep bags contained and easy to grab. Tip: choose baskets with handles and a size that swallows a full bag, and line them with fabric if straps tend to snag on the weave.
A large woven basket about 20 inches across swallows a full backpack, while handles make it easy to pull out for cleaning or rearranging. Baskets soften an entryway far better than plastic bins and suit living rooms where a mudroom is impossible. Seagrass, cotton rope, and rattan all work, but check the weave is tight enough that straps do not snag.
Line baskets with fabric if straps catch on the weave, and keep one basket per person so bags never pile two-deep. A basket that lives on the floor should sit on a mat to protect wood floors from dirt, and a quick shake-out weekly stops crumbs and sand building up inside.
13. Closet Rod Hanging Organizer
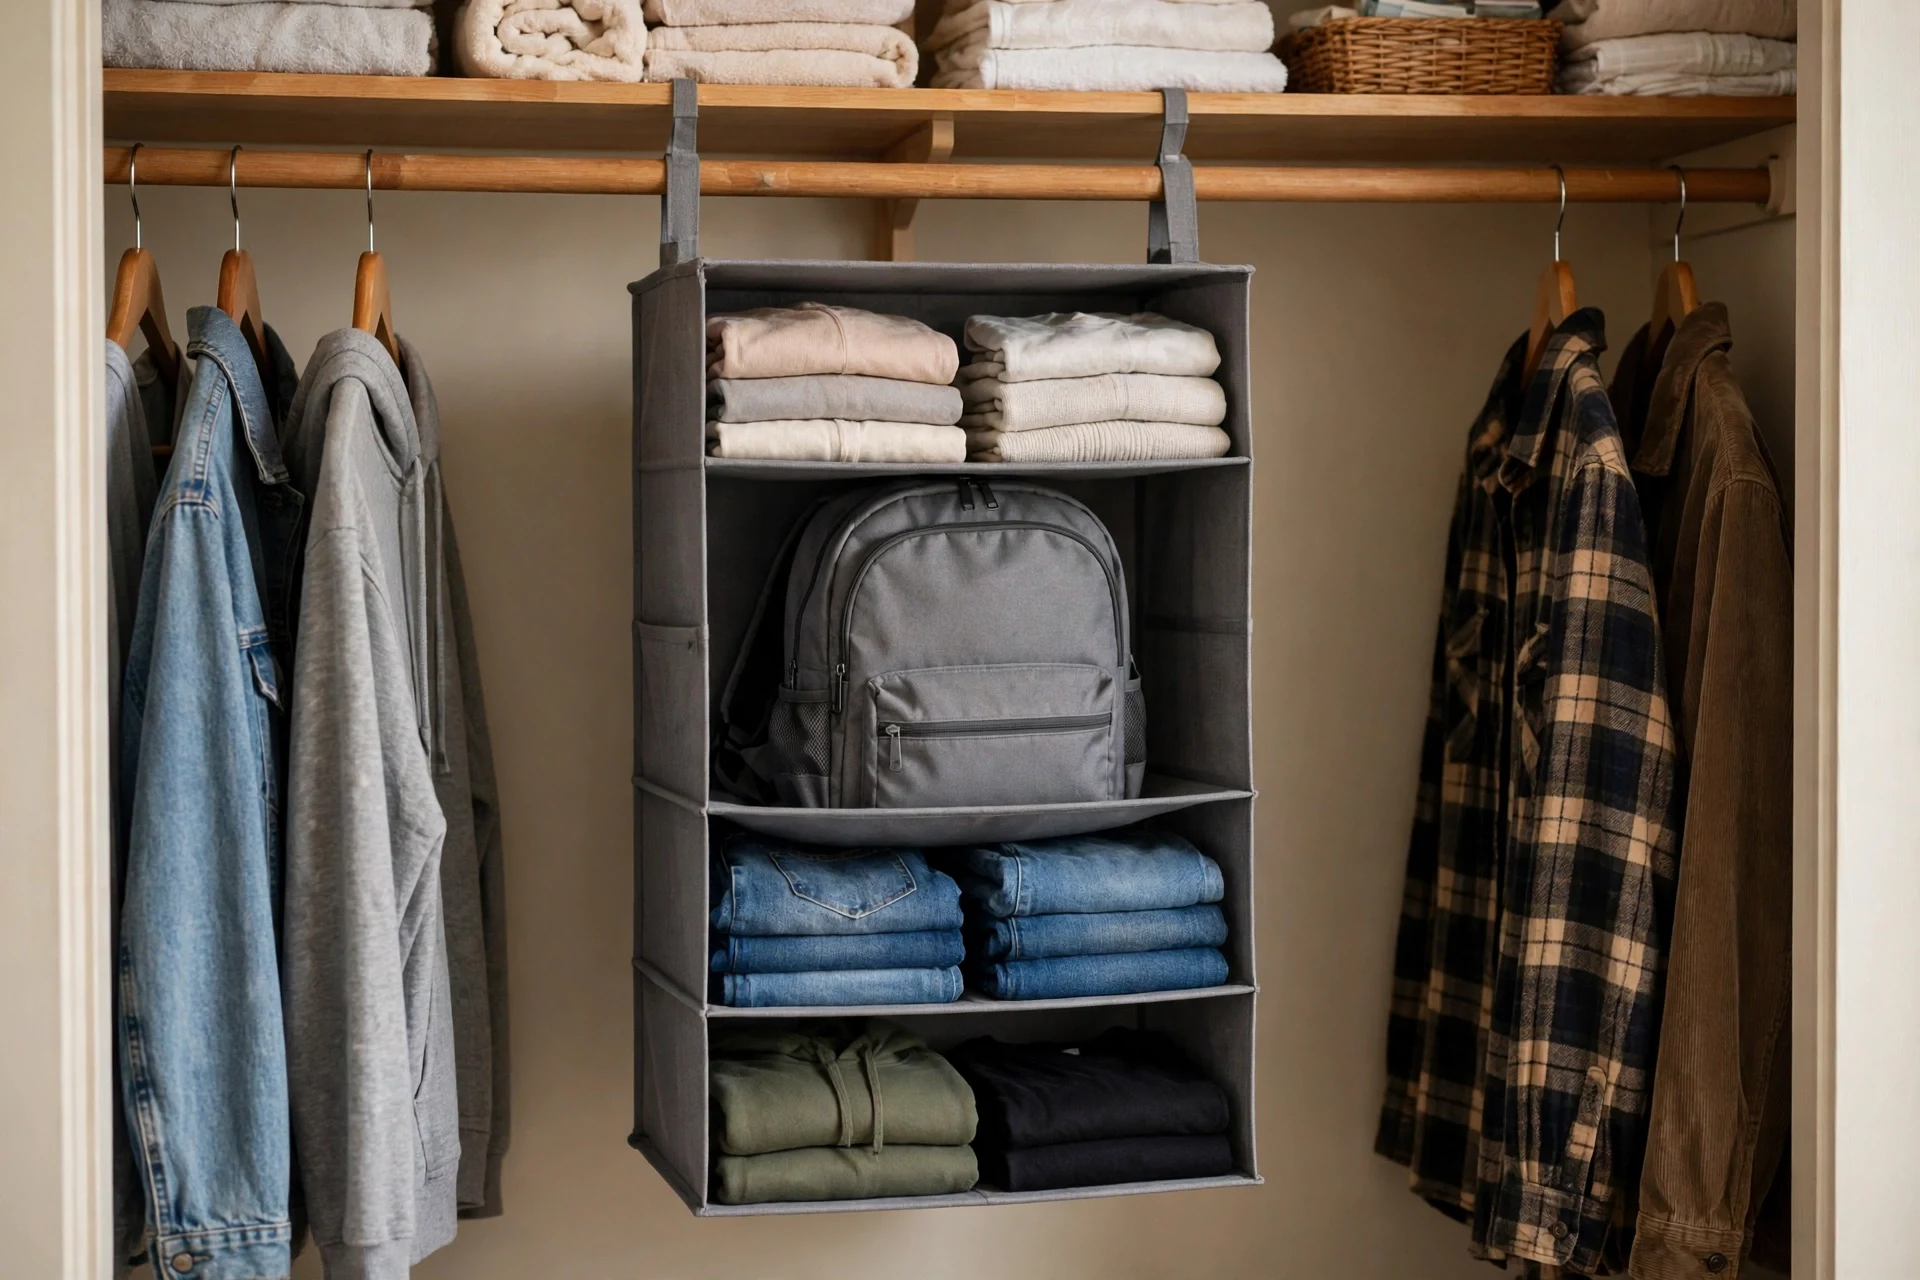
A closet rod hanging organizer is a fabric shelf unit that hangs from a closet rod and gives backpacks a dedicated shelf slot among clothes. It is a great solution for bedrooms where wall space is taken by furniture, and it keeps bags out of sight when guests visit. Tip: hang the organizer near the closet door for quick access, and reserve the top shelf for off-season bags.
A hanging closet organizer with four to six fabric shelves fits a standard closet rod and gives backpacks a dedicated shelf slot among clothes. It suits bedrooms where wall space is taken by furniture, and it keeps bags out of sight when guests visit. Sturdy canvas organizers hold heavier bags better than thin non-woven fabric, which sags within months.
Hang the organizer near the closet door for quick morning access, and reserve the top shelf for off-season bags you rarely need. Keep the bottom shelf for shoes or sports gear, so the whole school kit lives in one vertical column. If the organizer swings when you pull a bag out, clip it to the rod with a carabiner.
14. Backpack Hanger Clips on Closet Rod

Backpack hanger clips hook onto a standard closet rod and clip to a bag’s top loop, letting backpacks hang vertically like coats. They use no shelf space, cost almost nothing, and keep bags wrinkle-free and visible. A row of clips can hold several bags in a small closet. Tip: use strong metal clips rated for a loaded bag, and hang heavier hiking packs on the rod’s center support for extra strength.
Metal hanger clips rated for at least 7 kilos hook onto a standard closet rod and clip to a bag’s top loop, letting backpacks hang vertically like coats. They cost almost nothing, use no shelf space, and keep bags visible and wrinkle-free. A row of clips can hold several bags in a small closet, and heavier hiking packs belong on the rod’s center support for extra strength.
Check clips monthly for bending, since a bent clip drops a bag without warning. Keep clips spaced a few inches apart so bags do not crush each other, and use one clip per bag rather than doubling up, which strains the clip and the bag’s loop. Keep a spare clip in the closet, since a broken clip at 7 a.m. is exactly when you need a replacement.
Closet, Bedroom, and Small-Space Solutions
No mudroom? No problem. These ideas squeeze backpack storage into closets, bedrooms, garages, and other overlooked spots.
15. Closet Shelf Divider Bins

Closet shelf divider bins split a wide closet shelf into neat sections, one per backpack, so bags stand upright instead of sliding into a pile. Dividers are cheap, adjustable, and work on existing shelves without any tools. Tip: measure your shelf height before buying, and keep the most-used bag in the front section so mornings stay fast.
Divider bins that clip or slide onto a closet shelf split a wide shelf into sections about 12 inches wide, one per backpack, so bags stand upright instead of sliding into a pile. They need no tools, adjust in seconds, and work on existing shelves in any closet. Measure shelf height first, since a tall hiking pack needs more clearance than a school bag.
Keep the most-used bag in the front section for fast mornings, and put off-season bags at the back. If dividers slide around, a strip of non-slip liner under them holds them in place. A shelf that is too deep wastes space behind bags, so pull dividers forward to the shelf edge.
16. Under-Stair Backpack Nook

An under-stair backpack nook turns the awkward triangle under your stairs into a mini mudroom with hooks, a small bench, and baskets. It is often right beside the front door, which makes it the most convenient drop zone in the house. Tip: add a battery puck light so the nook stays visible, and keep the floor clear so bags never block the walkway.
An under-stair nook usually offers 3 to 4 feet of width, enough for two or three hooks, a small bench, and a basket each. It often sits right beside the front door, making it the most convenient drop zone in the house, and it turns dead space into a mini mudroom. A battery puck light keeps the nook visible, since stairwells are often dim.
Keep the floor clear so bags never block the walkway, and add a small mat for wet shoes. If the nook has a sloped ceiling, hang hooks on the tallest wall and use low baskets under the slope. Paint the nook a bright color so it reads as a deliberate space, not a forgotten corner.
17. Garage Slatwall for Hiking Packs
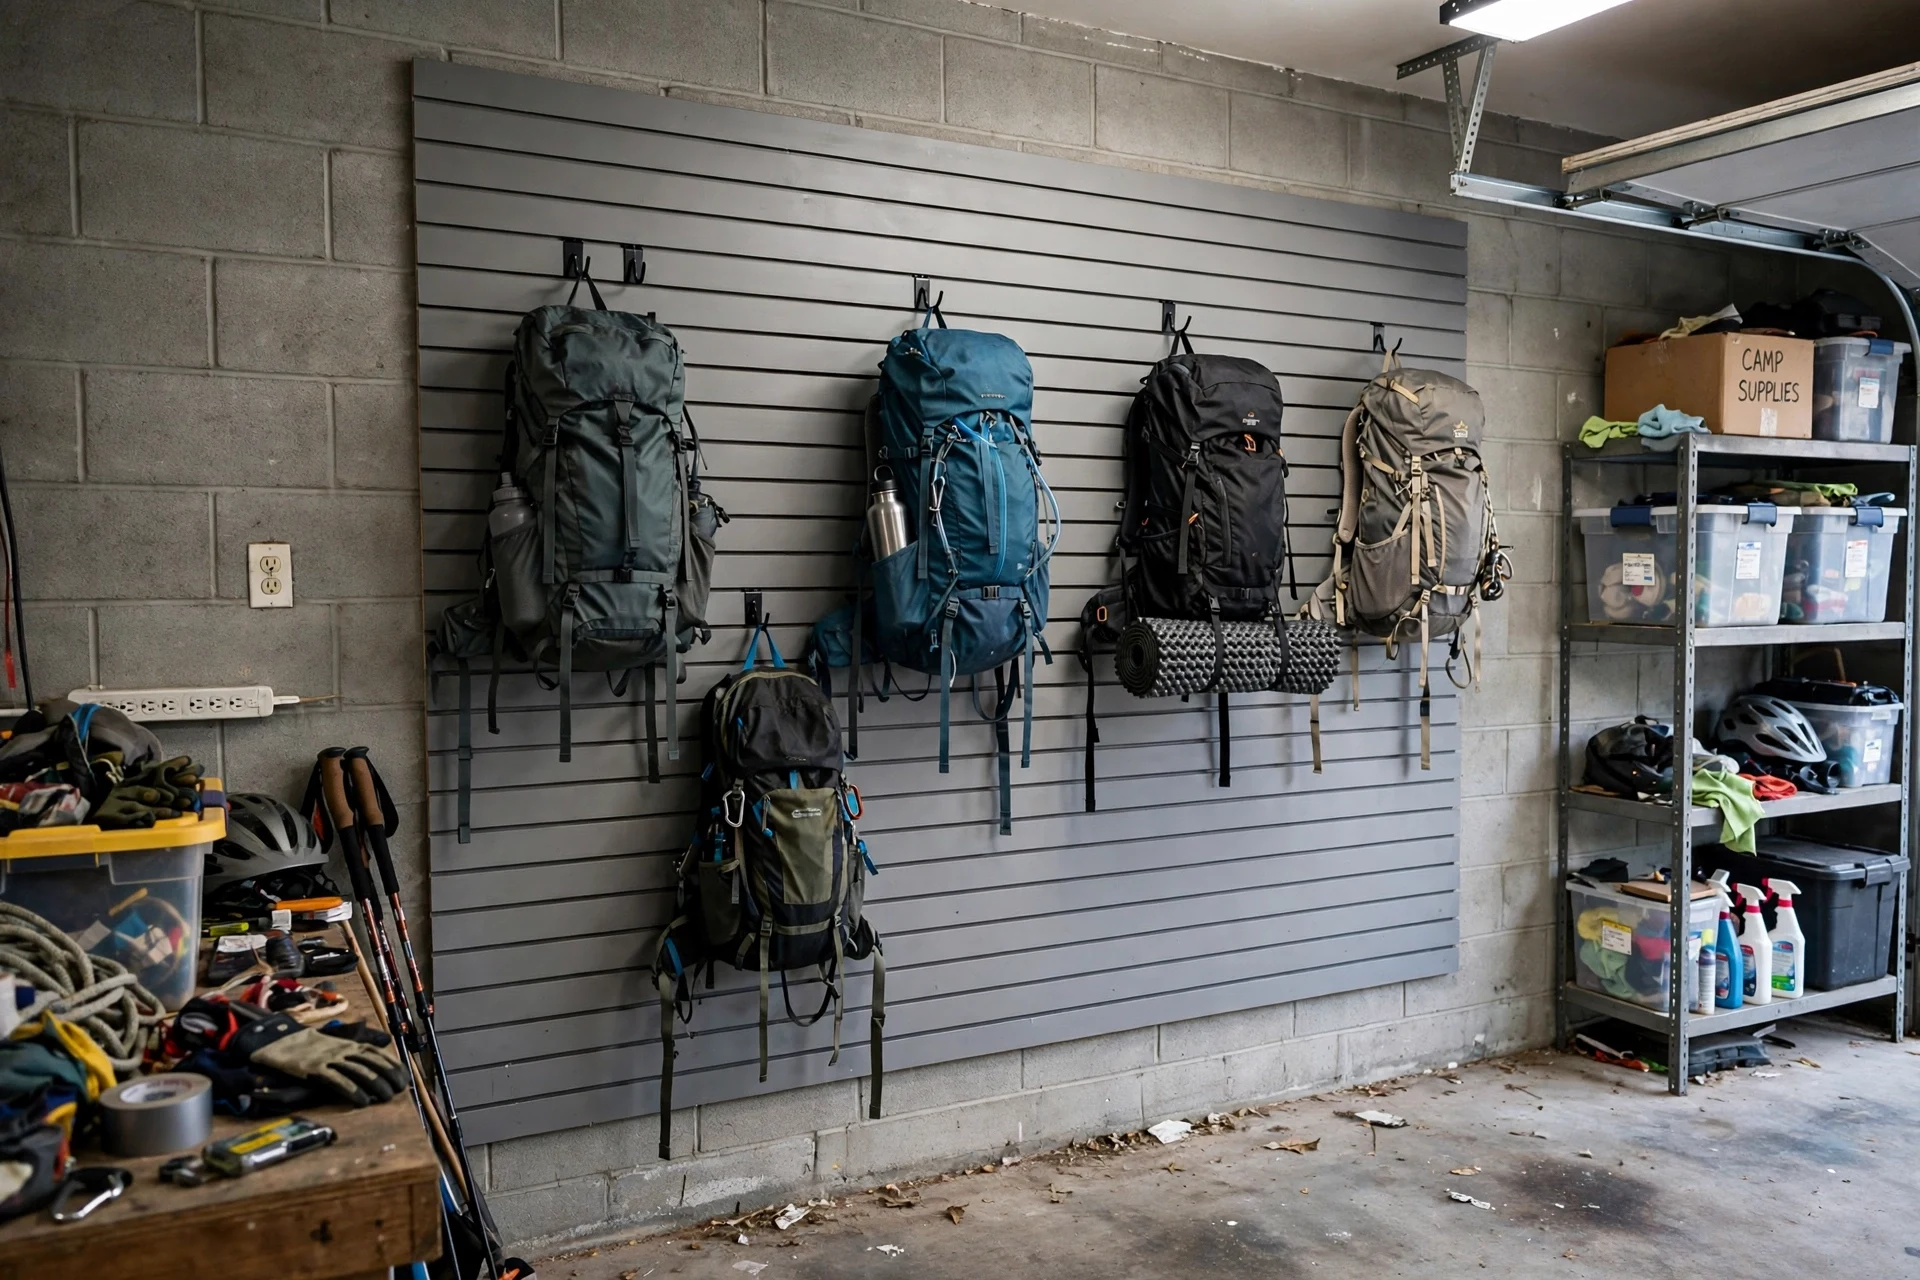
A garage slatwall for hiking packs uses grooved wall panels and heavy hooks to store bulky outdoor backpacks where they belong — in the garage, not the hallway. Slatwall holds serious weight and rearranges in seconds as your gear changes. Tip: hang packs by their haul loops, keep straps tucked inside, and store rain covers in a small slatwall bin beside them.
Slatwall panels with grooved channels and heavy hooks hold hiking packs, helmets, and outdoor gear in the garage, where bulky bags belong instead of the hallway. A 4-by-8-foot panel holds several packs plus accessories, and hooks rearrange in seconds as gear changes. Choose hooks rated for at least 15 kilos, since a loaded hiking pack is heavy.
Hang packs by their haul loops with straps tucked inside, so nothing dangles into walkways or catches on car doors. Store rain covers and small accessories in a slatwall bin beside the packs, and keep the panel away from damp walls, since moisture degrades straps over time. A small slatwall shelf above the packs holds sunscreen, maps, and headlamps, so the whole hiking kit lives in one zone.
18. Command Hooks in the Bedroom
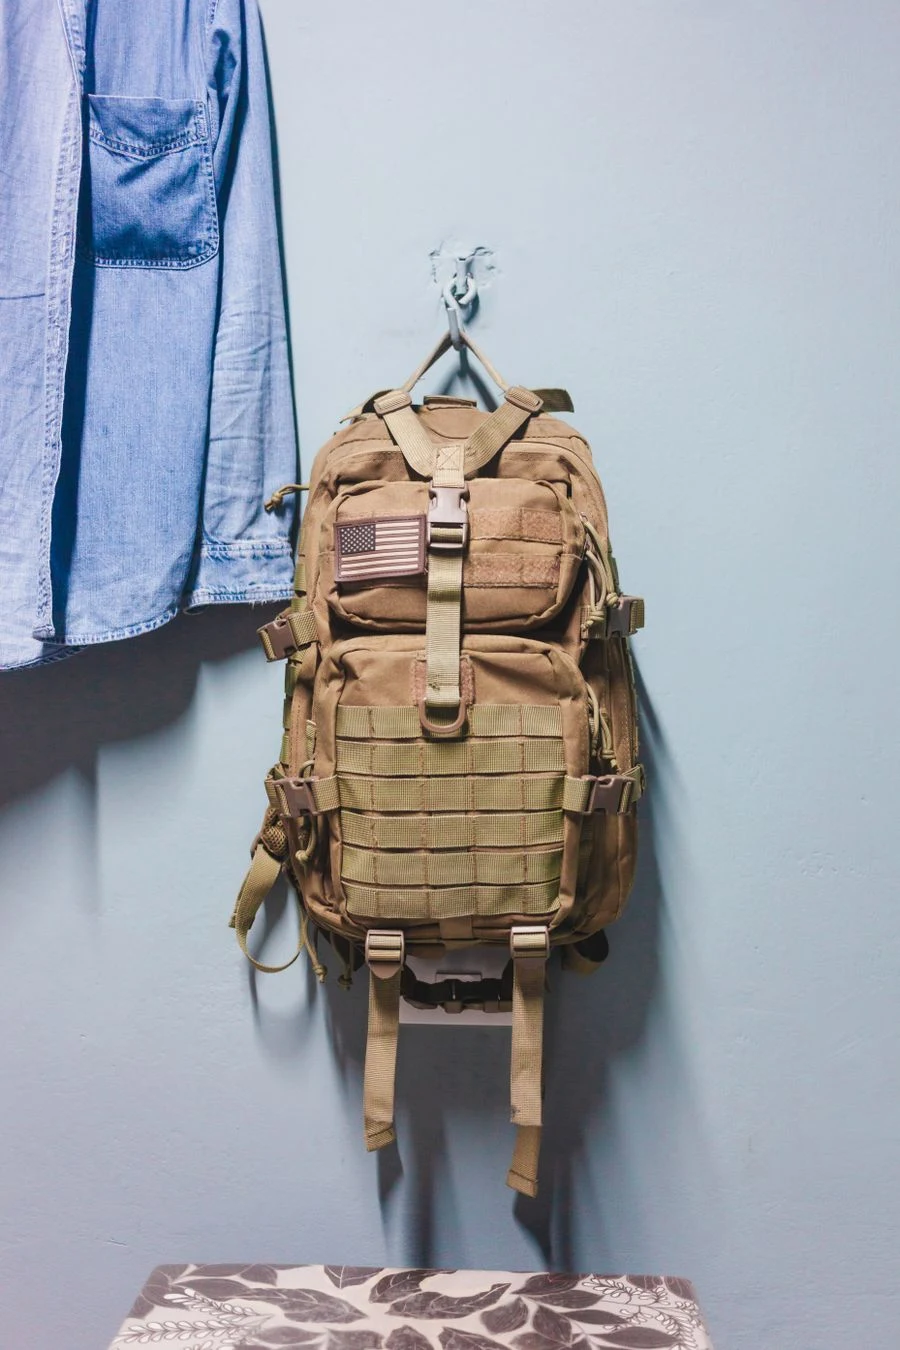
Command hooks in the bedroom are the renter-friendly way to give a backpack a home without drilling a single hole. A pair of large adhesive hooks behind the door or beside the desk holds a school bag perfectly, and they remove cleanly at move-out. Tip: follow the weight rating, press the strips firmly for 30 seconds, and wait an hour before hanging a full bag.
Large adhesive hooks rated for 3 to 7 kilos hold a school bag behind a bedroom door or beside a desk, with no drilling and clean removal at move-out. Use two hooks spaced a few inches apart for a heavy bag, sharing the load and stopping the bag swinging. Press strips firmly for 30 seconds and wait an hour before hanging a full bag, or the bond fails early.
Follow the weight rating strictly, since an overloaded adhesive hook peels paint off the wall when it falls. Clean the wall with rubbing alcohol before sticking, and avoid textured paint, which grips poorly. Replace strips when moving the hook, never reuse a stretched strip. If a hook does fall, check the wall for damage before re-sticking, since a second failure usually means the paint surface is the problem.
19. Storage Ottoman for School Bags
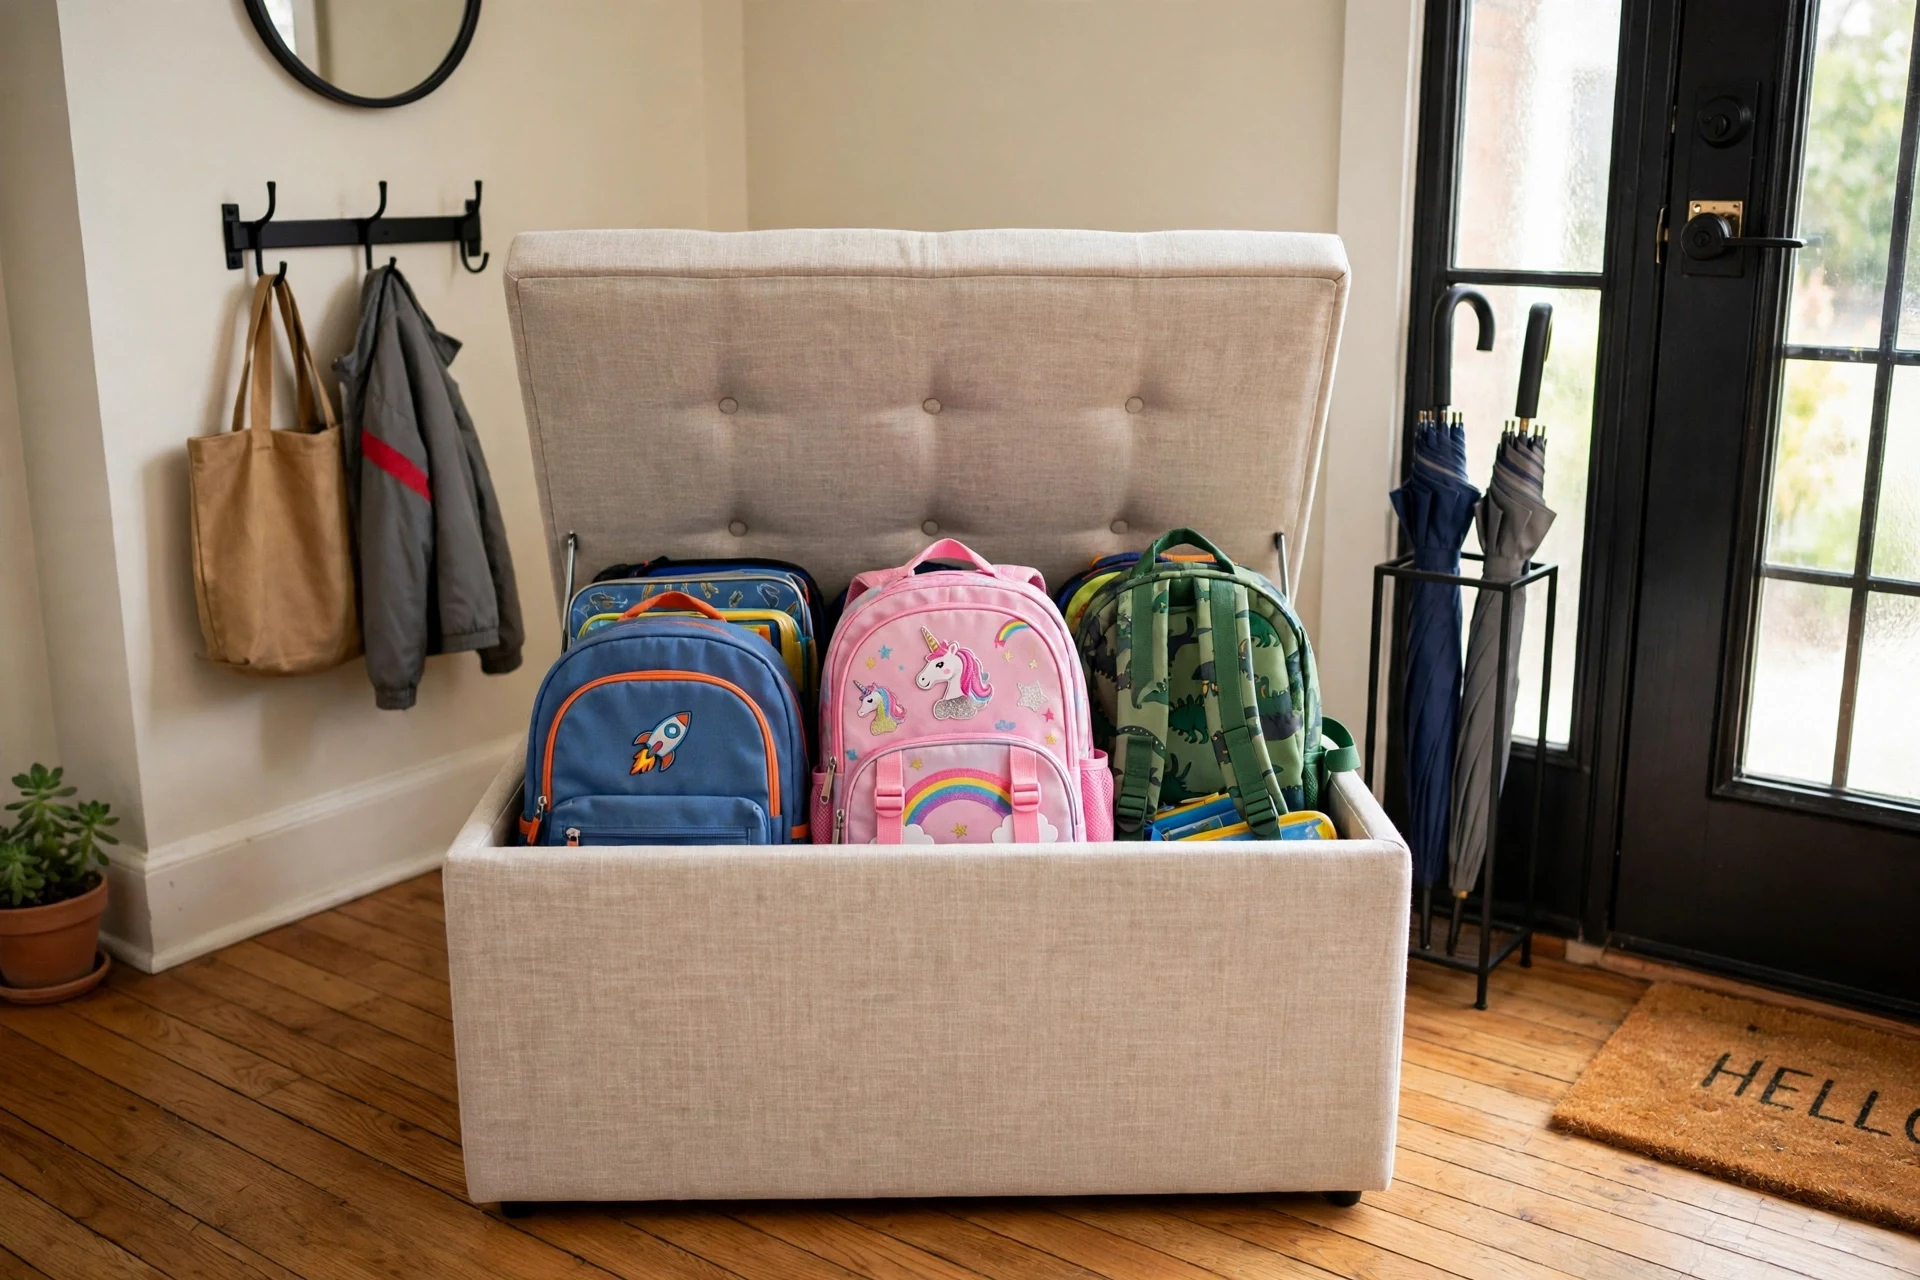
A storage ottoman for school bags hides a backpack inside a piece of furniture that doubles as a seat or footrest. It is ideal for small apartments where a mudroom is impossible and bags would otherwise live in plain sight. Tip: choose an ottoman wide enough for a full-size backpack, and keep only the current school bag inside so it never becomes a junk box.
A storage ottoman about 36 inches wide and 18 inches deep hides a full-size backpack inside furniture that doubles as a seat or footrest. It suits small apartments where a mudroom is impossible and bags would otherwise live in plain sight. Choose an ottoman with a sturdy lid that withstands sitting, and a wipe-clean fabric for muddy bags.
Keep only the current school bag inside, or the ottoman becomes a junk box within a month. A small tray on top holds keys and remotes, so the ottoman earns its floor space twice over. If the ottoman sits in a walkway, pick one with short legs that cannot trip anyone.
20. Backpack Tree Stand by the Door
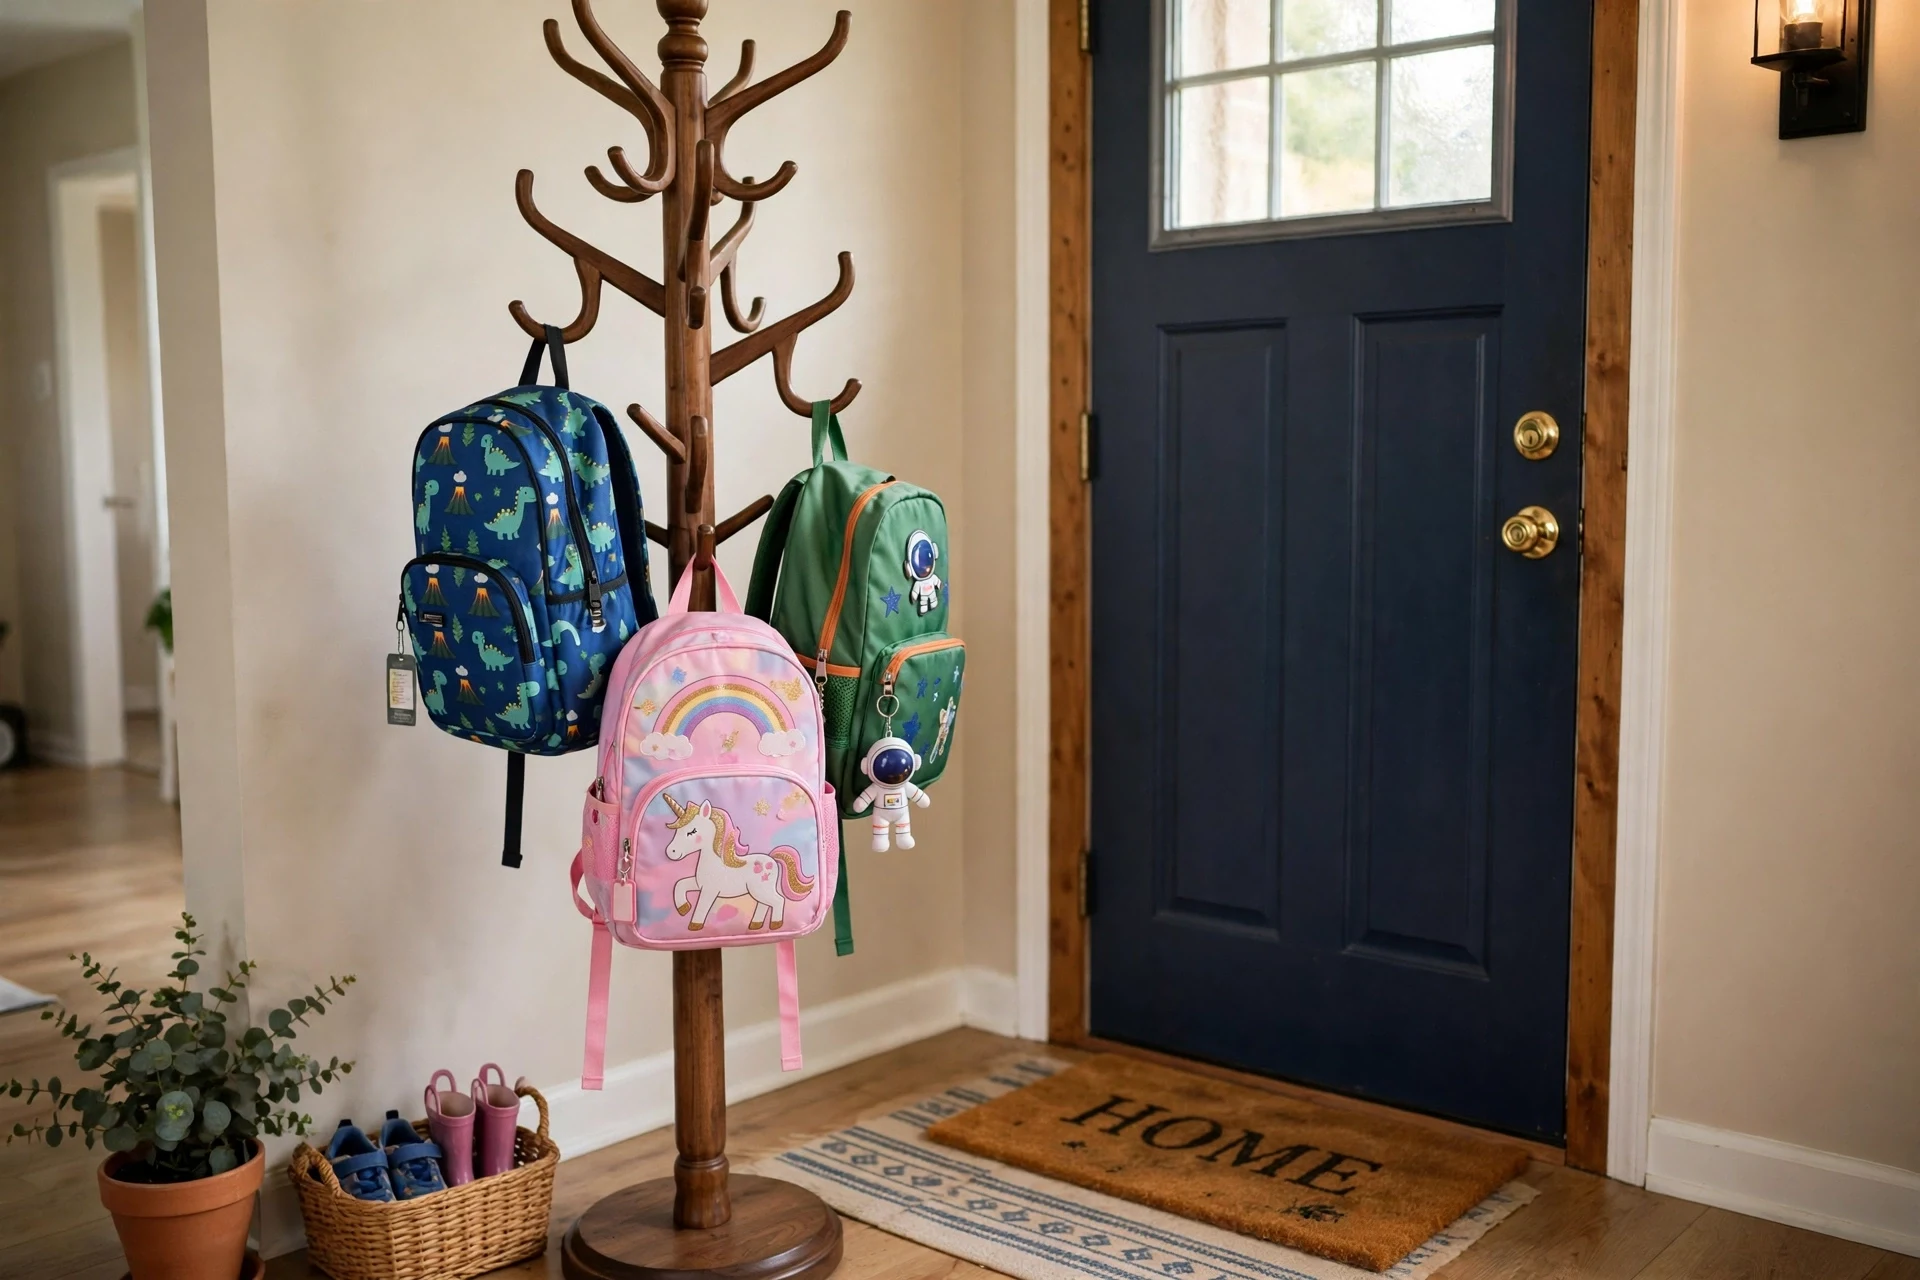
A backpack tree stand by the door is a tall, freestanding post with pegs at several heights that holds bags, coats, and hats in one compact footprint. It fits in a corner, needs no installation, and works for kids and adults alike. Tip: place it on a non-slip mat to protect floors, and put the kids’ pegs at the lowest level so they can hang their own bags.
A coat tree stand about 70 inches tall with pegs at several heights holds bags, coats, and hats in a corner footprint of about 18 inches. It needs no installation, fits kids and adults alike, and moves easily when you rearrange. A weighted base or a tripod design stops it tipping when kids pull bags off in a hurry.
Place it on a non-slip mat to protect floors, and put children’s pegs at the lowest level so they can hang their own bags without help. Keep the stand near the door, not in a bedroom, or bags never make it there. Wipe pegs monthly, since sticky hands leave residue that transfers to bag straps.
How to Choose the Right Backpack Storage
Start where bags actually land: if they pile by the front door, put hooks or a bench there, not in a distant bedroom. Give each person exactly one spot and make it reachable without help — a hook a child cannot reach will never be used. Match the system to your home: renters should lean on over-door hooks, adhesive hooks, and freestanding racks, while owners can invest in cubbies and bench systems. Finally, keep the rule simple: bags live in their spot, not on the floor, and a weekly two-minute reset keeps the system working all year.
Frequently Asked Questions
Where is the best place to store backpacks at home?
The best place is right where bags naturally get dropped, usually beside the front door or in the mudroom. A hook rail or cubby there makes hanging the bag easier than dropping it, which is why the habit actually sticks.
How do I store backpacks without a mudroom?
Use over-the-door hooks, adhesive hooks, a freestanding rack, or a closet rod organizer. Any of these adds backpack storage without construction, and a storage ottoman can hide a bag completely in a small apartment.
How can I keep kids’ backpacks organized?
Give each child one labeled hook or bin, and add a small basket underneath for lunchboxes and water bottles. Keep the spot reachable for their height, and do a quick Friday clean-out so old papers do not pile up.
Should backpacks be stored hanging or in bins?
Hanging suits daily bags because they are fastest to grab and straps stay in shape. Bins suit off-season or spare bags because they protect against dust. Many families use hooks for the current bag and bins for the rest.
The floor pile is not a discipline problem — it is a storage problem, and now you have twenty fixes for it. Pick the one that matches your entryway, install it this weekend, and watch the morning scramble get calmer. Pin this post to your home organization board so you can find it again, and save the idea that fits your home best.Photos: Pexels (free to use).


